Brief Description: Completed Installation of Ribs and Leading Edge
Completed the installation of the ribs on the wing spars. Turned the wing over so the bottom was up. Aligned the leading edge sheet of aluminum along the bottom of the wing near the edge of the front spar. Clamped the sheet in place and rechecked the alignment. Drilled 1/8 inch hole through the sheet and into the rib 1/2 inch down from the edge on the right side of the sheet and installed a cleo. Repeated the process in the center of the sheet and again on the left side. Removed the cleo from the left side of the first sheet. Added another sheet of aluminum to the leading edge with a two inch overlap with the sheet on the right. Clamped the second sheet in place. Drilled the three holes in the sheets and installed cleo's in each hole. Trimmed and installed the third sheet for the leading edge with a 2 inch overlap. Drilled and installed cleo's on the sheet. Installed 1/8 inch pop rivets in each of the holes on the bottom of the leading edge. Measured 1 inch down from the first set of rivets and drilled a second 1/8 inch hole. Installed a second set of pop rivets next to the first set.
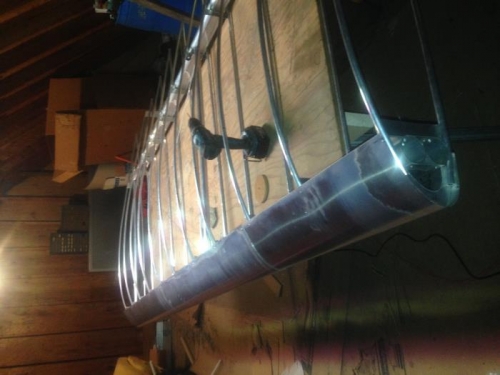
Turned the wing right side up. Using three straps pulled the leading edge around the front of the wing. Checked the alignment of the leading edge and adjusted as necessary. Drilled two 1/8 inch holes through the sheeting and into each of the ribs along the leading edge. Installed three cleos in each of the leading edge sheets. Installed a 1/8 inch pop rivet in each of the open holes on the leading edge. Removed the cleo's and installed pop rivets in each of the open holes.