Brief Description: Start of Lower Right Wing Prep for Covering
Cleaned up work table and moved material off to make space for the wings. Installed two leather disks, one in the center section cross cables and the other on the top right wing. Moved the lower right wing into the warming tent and set it along side the work table. Laid out the felt for the covering of the wing leading edges. Cut the felt into 11 1/2 inch strips. Set it aside for later use on the leading edges.
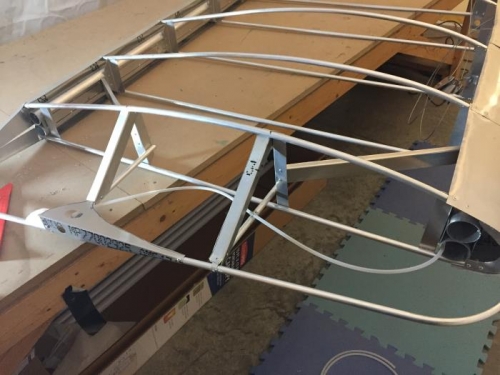
Placed the wing on the table and measured the space for an aft diagonal brace from the rib to the trailing edge near the wing light frame. Trimed the angle brace to size and smoothed the edges. Put in place and secured with two 1/8 inch pop rivets. Installed a wire guide from the light bracket to the lower half of the forward wing spar.
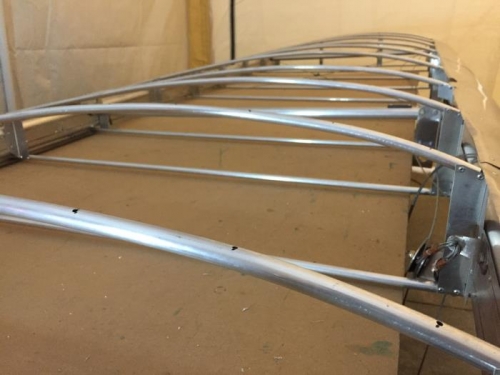
Measured off on each wing top rib a 4 inch interval and marked that location. Drilled a 1/8 inch hole at each marked location across the top of the wing. Used a file to remove any burs that occurred from the drilling. End of day.