Brief Description: Start Prep on Lower Left Wing for Covering
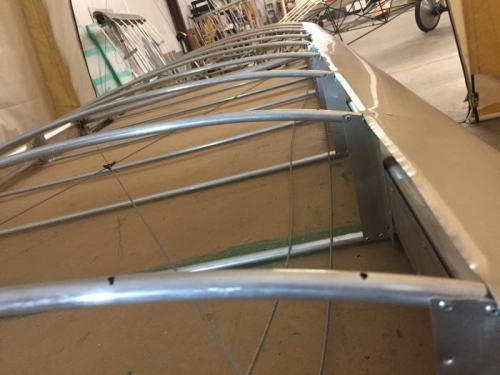
Cut 10 five inch circles from the fabric scraps. Used a coffee can lid to draw circles around each access hole marked on the bottom of the lower right wing. Applied glue around each access hole within the marked area. Added a circle of material over each of the access holes and pressed in place. Applied a light coat of glue over the circle patch followed by a wipe down with a shop towel. Completed the process for all ten access holes. Ironed the patch in place on the forward left end of the wing. Used the soldering iron to melt a cutout from the access port. Reached into the wing and pulled the top aileron cable back through the end panel. Placed an aluminum cover plate over the access port. Got Paul to help me move the wing to the wing stand clear of the work table.
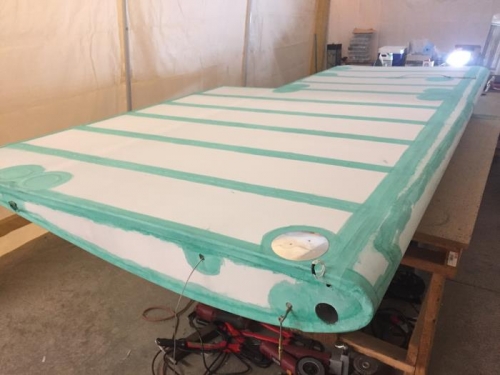
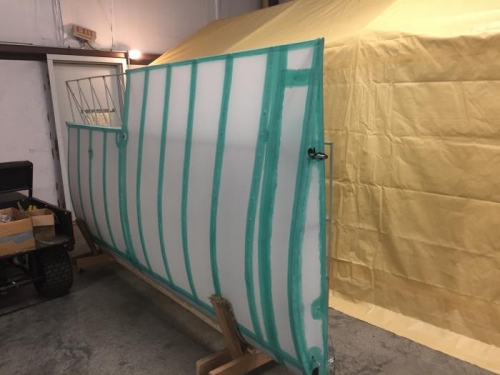
Moved the lower left wing onto the work table with the top side up. Checked all of the edges on the wing and filed any ruff edges down. Clean the leading edge with acetone. Marked the wing ribs every 4 inches for the stitch holes. Cloth taping all edges and pop rivets is next for the next work day.