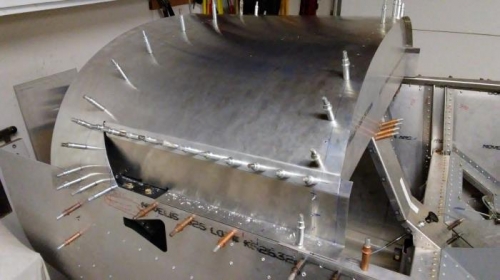
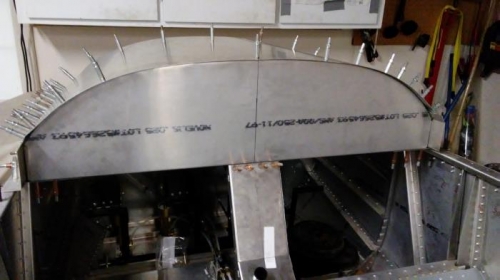
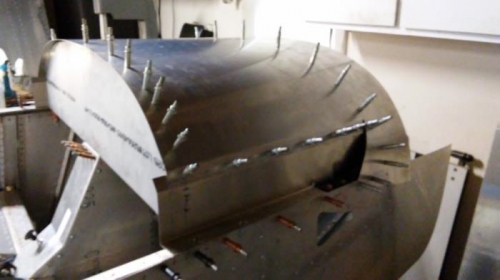
Started installing front top skin in order to get ready to attached tubes and canopy. Skin was not predrilled but plans had enough detail to get skin in proper place. I used to dimensions given in the plans to check instrument panel and firewall were in proper position ( centerline from firewall to instrrument panel at 400mm when instrument panel is square to the longerons). I then drew the instrument panel rivet line on the top skin which is 25mm from rear of skin. This leaves 15mm for the overhang of the top skin on the instrument panel. I had also predrilled the instrument panel and firewall with pilot holes (#40) and used a strap duplicator to align my predrilled holes with where I needed to drilll the holes in the top skin. This works ok until you get down near the bend on each side and then it is harder to get the strap duplicator into position. All in all, it turned out ok. I have decided I will be putting screws in mine instead of using rivets. I will order the screws this week. However it will be awhile before I am ready to permanently attach top skin. My top skin did need some trimming on the sides to get it to fit as shown in the plans.