I continued through the fuselage constuction steps. Again, I am sooooo glad I purchased the quickbuild!!! At each step, I check the drawing, then check to see the construction on the fuselage itself. The people who put this thing together REALLY knew what they were doing.
Although I did very little actual building, this was a GREAT day. I found the solution to two problems I have been pondering.
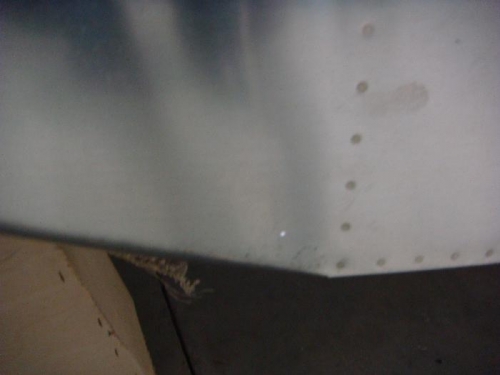
1 - The Steps - I wondered how in the heck I would ever be able to line the holes up correctly. Come to find out. There are pilot holes drilled in the skin and in the floor rib. I had looked at where I thought the step should go and didn't see anything. I was looking too far forward. The steps are mounted much farter aft.
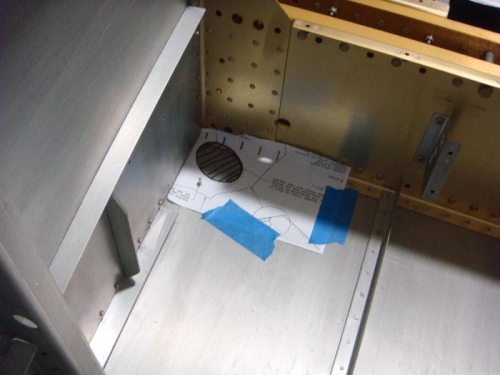
2 - Hole for Landing Gear - Again, I woundered how I was going to drill the hole for the landing gear accurately. I actually thought about building a cardboard copy of the area to get a template. Vans was one step ahead of me. There is a template in the plans. I made a couple of copies of it and taped it to the floor of the fuselage and marked the hole. (This was just to see how everything was going to line up.) When I actually cut the holes, I think I'm going to lay the fuselage on it's side and work from the bottow.
(I drilled out temporary rivets to get a good look at the baggage compartment floor ribs and where the steps connect.)