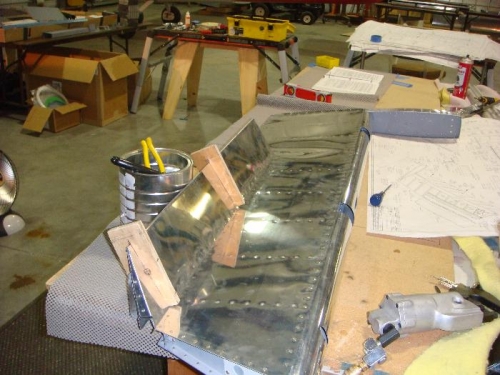
The trim tab I completed a few months ago ended up with creases where the foam ribs were placed. When I used the trim tab clamp to hold it together, it ended up with dents. A few weeks ago, I decided to re-do it.
This time, I didn't follow the plans. (If you are building one for the first time... I'd suggest you follow these plans rather than the directions.
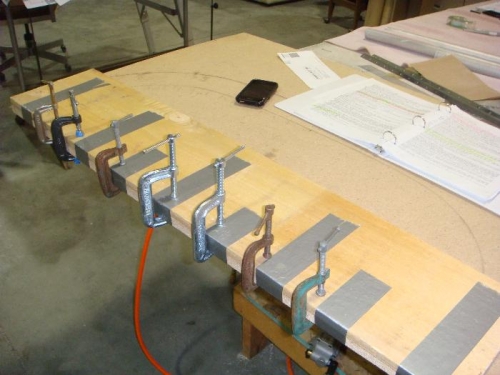
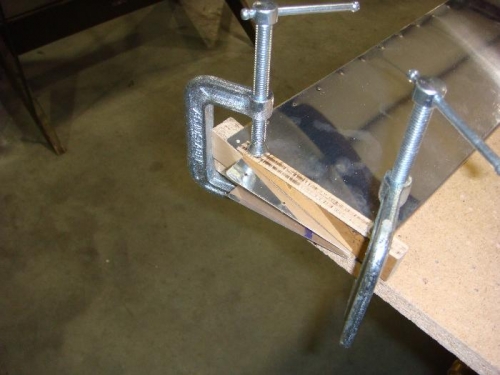
The key changes are: - Attach the trim tab homs AFTER you bend the side tabs. (Near the end of construction rather than near the start) - Squeeze the entire tab together BEFORE you attach anything.
Steps - Mask the skin for ribs - scuff with sandpaper - Made the foam ribs - Use home-made break to shape trim tab - Completed the trim tab as per instructions