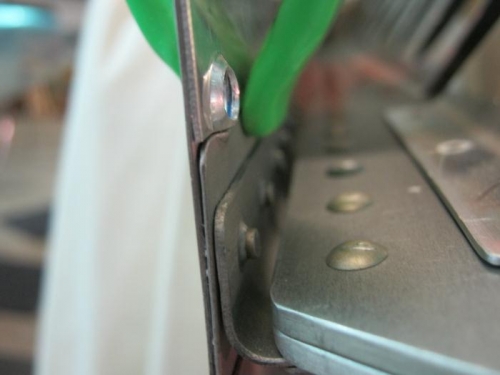
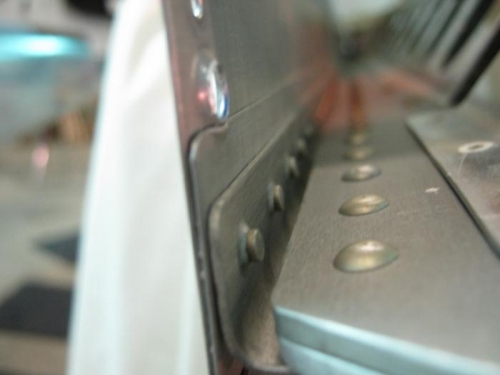
After about an hour of shop cleanup, stared in on the task of getting the 33 plate nuts installed on the right wing inbd rib area. The aft most screw hole on top is too close to the extra wing walk skin for a clean dimple. The wing walk skin can be seen where it extends out from the flange. I made a spacer and drilled it to line up with the skin screw hole along side the wing walk skin and then just dimpled both. When the spacer pulled away you can see the dimple was clean and actualy dimpled the edge of the wing walk skin
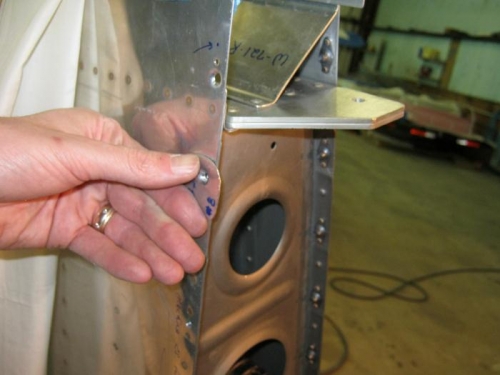
Image 3 below shows the dimple depth gauge. Used the micro stop to machine cs the top holes since there are several layers of skins once fwd of the rear spar and thus cant be dimpled. Once the depth is set on microstop, the rest go quickly. the rivit holes for the nut plates are counter sunk too.
The bottom holes and the nose skin holes can all be dimpled and so I did them next.
Clecoed on the K1000 plate nuts on top aft holes and then rivit. Once rivited the plate nut screw hole is used as a guide for the #40 counter sink and that is done next
All the screw holes that are dimpled use the k1100 platenuts. Those were clecoed in place and then rivited.
All platenuts were installed except for three that are going to be the lug style and Im waiting for them to arrive in the mail. Will get them next time hopefully
Moved on to the panel for awhile and those are posted on the second entry for today
Spacer used to make dimple in skin
The spacer removed and the skins dimple shown
Dimple gauge to check depth of the machine countersinks on top skin