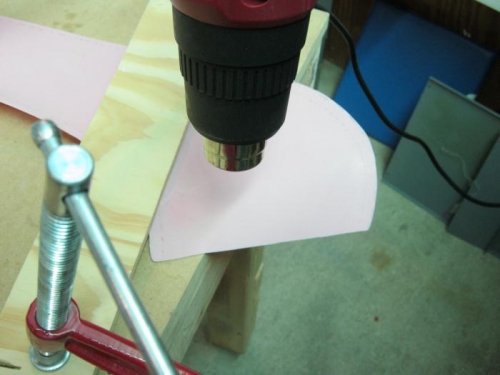
1. Used heat gun on the skirt ends to soften them enough to pull out some where they curl in to the plexi glass. This works well but need to use caution as it can crease it if too much pressure is used with wood blocks. Ask me how I know this.
2. Made several position attempts and when I settled on what seemed best, I marked where the center rail cut out needs to be and cut it. Once positioned and taped down, I drilled one hole in aft end to keep in place and then made final adjustments working forward. Once taped down, I transfered all the intersecting lines onto the skirt.
3. Used small 1/16 bit to drill in to the skirt along the upper rail. I wanted to be careful not to hit any plexiglass. I f the drill when throu and into the hole in rail, I used the uni bit to drill them to 1/8. If it hit the edge, I adjusted with a small file and then redrilled with the unibit.
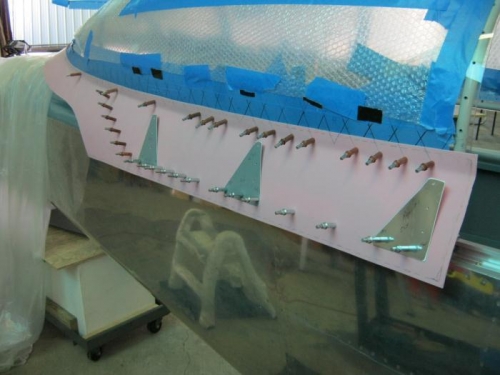
4.Used the hole finder to drill the aft angle rib tube and got clecoed to the frame. I then used the #40 hole finder along the bottom rail and clecoed from aft forward. Once all drilled, I installed the templates for vertical tubes and drilled them.
5. Went back and final drilled all the #40 holes up to #30
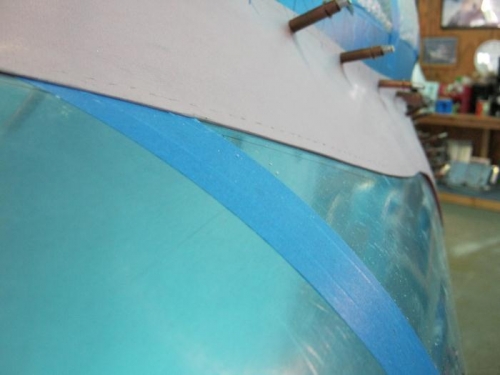
The right side didnt buckle any and the holes all lined up pretty good this time. This resulted in a much better fit on this side than on the left. There is still plenty of work to do where the two skirts meet but they are fairly close to even with one another so it should be doabale...I hope!
Heat gun to soften skirt aft end edge
Right side drilled and templates in position
See how well the right side lays down on turtle deck?