Brief Description: Test fit all the steam gauges for fit and clearenc
Part two today was with the panel. See other entry for the wing platenut work
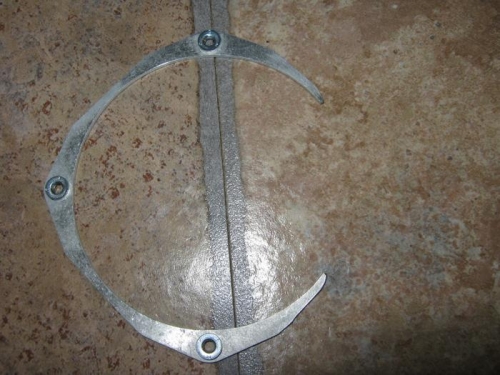
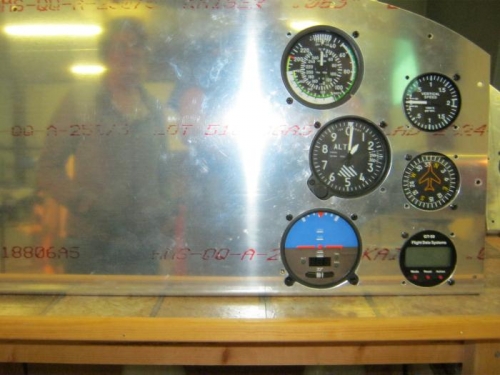
I had purchased some ez nut rings for of my gauges. The other 3 already have nuts press fit in them and dont require anything. Pic one below shows one of the 3 inch rings. I had to cut a corner off so it would fit the airspeed indicator and then also file down the bottom flat so it would clear the gauge below it. I did this later and it worked just fine. The Altimeter below also had a ring and it too needed to be cut for fit. The last 3 inch gauge is the trutrak autopilot head. This is strange layout I know but it should be just fine for my taste. The 3 two inch gauges to the right fit in just fine. I have a ez nut ring for the VSI but it doesnt fit well and will need something different.
After the steamers were in, I started to lay out lines for the GPS 696 in the center and the mounting angles too. Its going to be a tight fit so I'm trying to get it as close as possible to the gauges. The altimeter is pushed to the right some so that I will have some space for a 1" angle to fit. More on this later but I spent some time looking this over and getting an idea of how I will mount the rest of the panel goodies-The radio and transponder and the Dynon EMS.
EZ nutring for the 3 inch gauge with corner cut out