1. Tried to teek the baggage door by twisting it a bit. Also filed the left edge some for better fit. I also put a slight bend along the bottom edge where it lays against the side fuselage skin so it sits flush an tight.
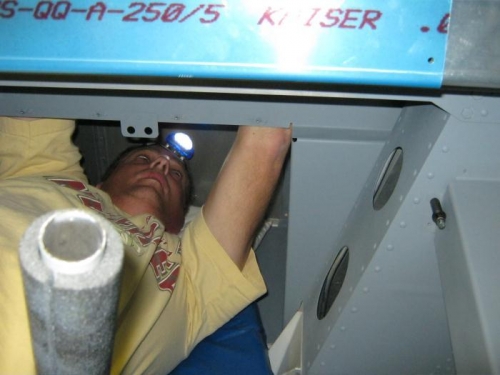
2. After I had the fit I can live with, I duct taped the door in position. Had to remove some clecos so I could put a generous amount of tape on. I then surveyed the forward floor to see how much room I might have to rivit the inner door skin on. I threw in some ppillows and such, Put on my head lamp, and crawled in (slowly!) Once I was situated, It wasnt too bad. It realy helps to have someone help thouigh. Brenda would apply preesure to the outer skin so I would not push the door up away when popriviting. She would also pass me the pop rivits when I needed one. Worked out well. I got most all of them rivited this way. When done, I removed the door and put the remaining rivits in.
3. I altered the temp wood floors by cutting out a section to go around the rear fuselage pivit arm and autopilot servo and bracket. I have them back in place now and when I have the wire for the tail light and electric trim run, it will be time to rivit the turtle deck.
4. Rivited the upper aft bulkheads to the lower bulkheads and also the 2 corner gussets behind the rear seat bulkhead and upper longeron.
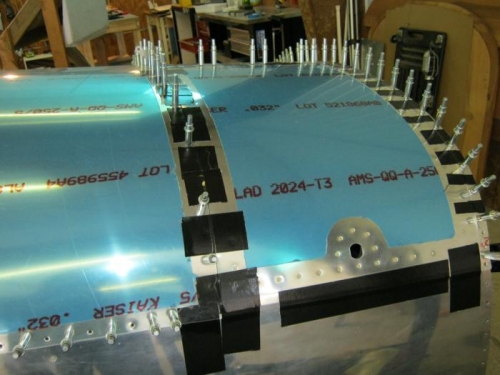
Baggage door duct tape
Riviting the inner baggage door skin on from underneath