
|

|
|
|
Baby Steps to an RV-8
|
Date: 11-1-2009
|
Number of Hours: 5.00
|
Manual Reference: Sect. 6
|
Brief Description: Prepped H.S. Skins & Worked V.S. Ribs
|
|
This entry encompanses work over the last few days. Things are coming together quickly now. The Horizontal Stabalizer Skins are just about ready for dimpling. I still must deburr the right side skin, but the left is ready to go. To easy in deburring the drilled holes, I've affixed a 5/32's countersink bit into a small Skill Electric Screwdriver. This greatly eases the deburring, but you must watch out to ensure not to overdo it.
For prepping the edges, I've found that using the shave debur tool, along with some Emery Cloth does the trick. For final buff, I'm using a red steel wool bit for the Dremel Tool. I picked up nine or ten of these at Oshkosh for 50 cents each.
In addition to the above, the Vertical Stabalizer is coming along quite well. It's been match drilled, fluted (the ribs), dimpled (ribs only), and I will dimple the skin once done with the Horizontal Stabalizer.
Finally, it's almost time to start priming. The Paint Booth will aid greatly, so I'm hoping for some time to get that done. All that's left is to wrap in plastic and rig the ventilation system.
Hopefully I'll have time to work on things again tomorrow after class.
|
|
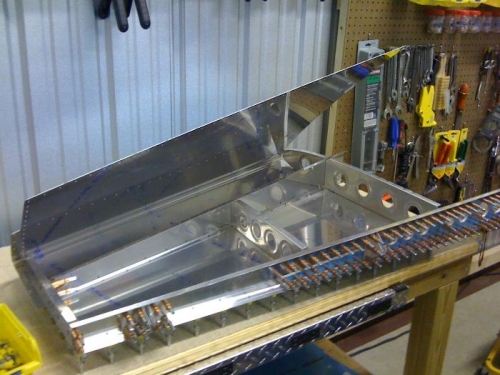
Vertical Stabalizer Cleco'd Together
|
|
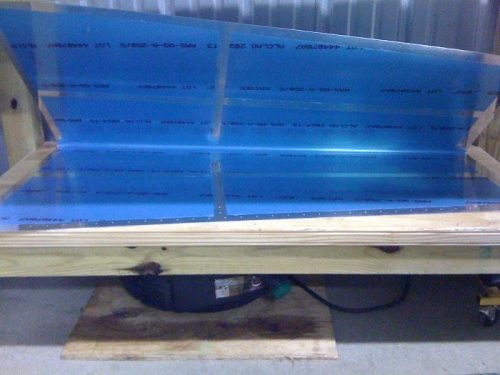
Trimmed and Prepped H.S. Skin
|
|
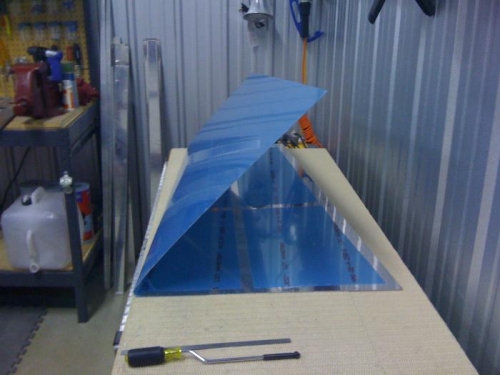
Skin with plastic removed for dimpling
|
|
|
|
|
|
|
|
|
Copyright © 2001-2024 Matronics. All Rights Reserved.
|