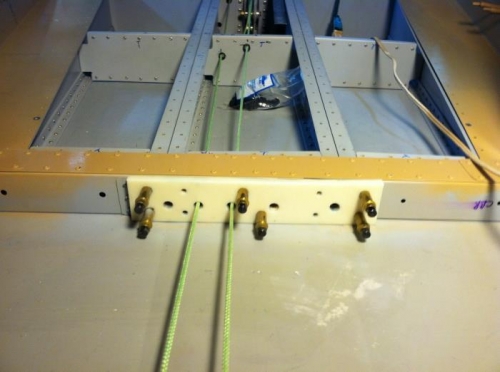
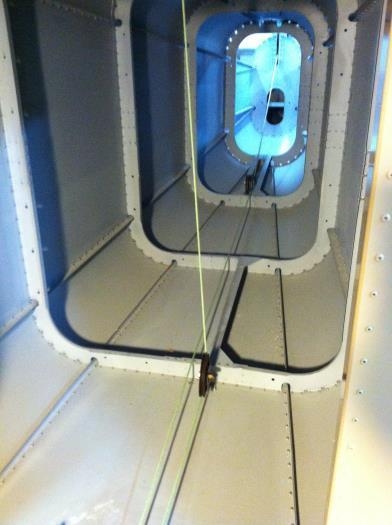
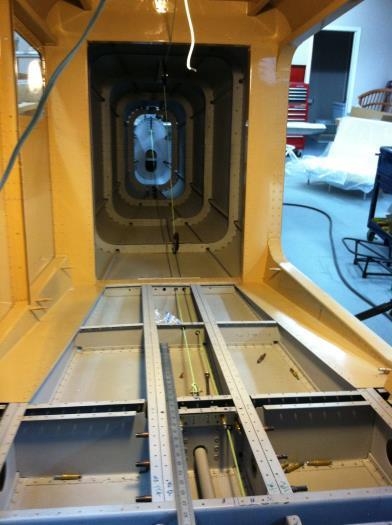
Today, I started by installing the two Flap Pulleys. The lower one was the most difficult. I had to drill out a couple of rivets from under the fuselage to be able to thread the nut onto the eyebolt. Next, I turned my attention to the cable runs. I used a good quality cord for the initial runs and will replace with actual cable when I get everything sorted out. After speaking with several individuals, I decided to use a block of Delrin for the slight directional change. Fred Darnell did something similar and it seemed to be the simplest way forward. I found a 12 inch x 2 inch x 1 inch block of Delrin on Ebay for $10. I resawed it on the bandsaw so I had a 3/8" thick piece. I then marked it and drilled the holes for the cable runs. I only drilled 3/8 inch holes to make sure the cables would only contact the Delrin and not the Aluminum behind it. When I riveted the bulkhead C, I riveted everything with the heads to the front and tails aft. So, the tails were in the way. I cut them off with a Dremel wheel, punched them out, and then replaced with a countersunk rivet. The Delrin then fit perfectly. For the other holes where the cables run under the floor, I used a snap in nylon bushing from Aircraft Spruce and Specialty. I also ran the elevator cables from the control horn to the tail. I still need to add the nylon guides on top of the bulkheads. Next, the rudder cables.