
|

|
|
|
Jerrys Web Site
|
Date: 3-24-2012
|
Number of Hours: 3.50
|
Manual Reference:
|
Brief Description: Left Wing Rib Installation
|
|
Today, I placed the left spar on the table, and match drilled the nose ribs. As opposed the right wing, this time I drilled all the ribs in the same position on the spar, where it was only one laminate thick. I then moved them to the appropriate position. This allowed me to see the centerline as opposed to attempting to drill through multiple spar laminates -- not very doable. It was a breeze and I got a much better fit. The second picture below shows how I marked the shims by rib position and orientation. Finally, I began to install the main ribs using a similar process, drill in one position then move the rib.
My intent is to enlargen the holes through only the spar and the rib, then drill one of the shims, and do the remaining ones on the drill press using the first shim as the master. Attempting to enlargen through so many laminates is difficult, as you're always drilling through at least 1/2" of material. This way, I'm only drilling the spar to the nose rib, then the spar to the main rib, then the spar to one shim etc.
|
|
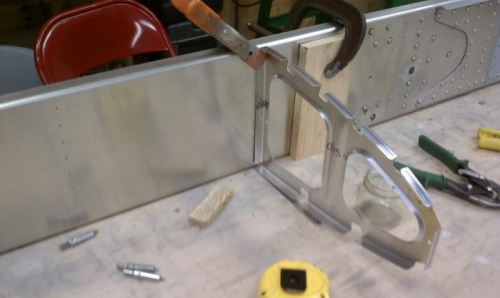
Match drilling nose ribs
|
|
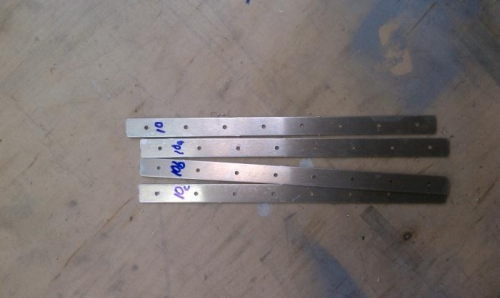
Shims marked by position and orientation
|
|
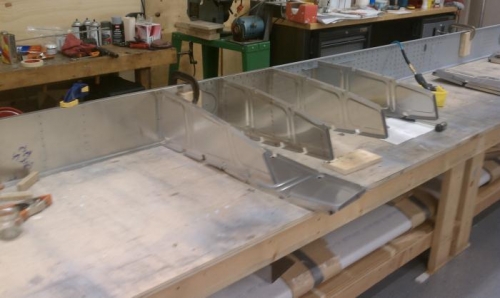
Match drilling main ribs
|
|
|
|
|
|
|
|
|
Copyright © 2001-2024 Matronics. All Rights Reserved.
|