
|
|
Jerrys Web Site
|
Date: 10-16-2011
|
Number of Hours: 3.50
|
Manual Reference:
|
Brief Description: Nose Ribs
|
|
Wow -- its beginning to look like an airplane. The wing is really big!
Today, I worked to attached/match drill the nose ribs. It was fairly easy, remove the plastic, draw a centerline down the back of the rib, hold in place and drill one hole -- cleco and move forward. The difficult part was in the center section, where the laminates precluded seeing a center line through 6 layers of a 5/32 hole. In those cases, I had to mark the spar and hold the rib to the marks. Today, I'll remove and do the same process with the main ribs.
The shims were straight forward, and surprisingly, the ribs are in really good shape, it will take one pass on the 3M wheel to polish up the edges.
|
|
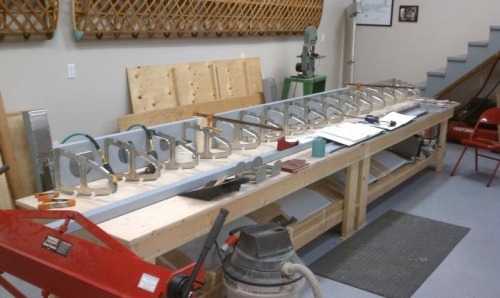
Nose ribs attached
|
|
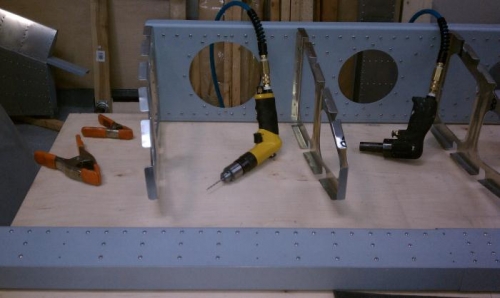
Close up of ribs on outer spar extension
|
|
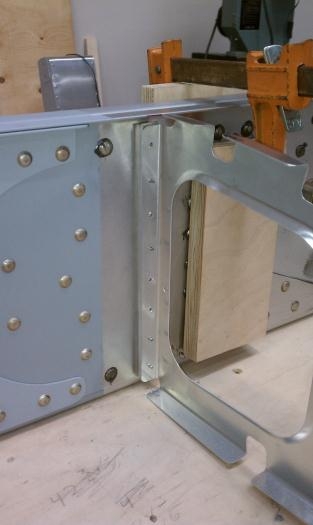
View of rib with shims behind
|
|
|
|
|
|
|
|
|
Copyright © 2001-2024 Matronics. All Rights Reserved.
|