
|

|
|
|
Jerrys Web Site
|
Date: 3-14-2011
|
Number of Hours: 8.00
|
Manual Reference:
|
Brief Description: Trim Tab Area
|
|
Today, I completed reassembly of the trim tab, with 2 extra ribs and the new trim horn attachment. See the first two photos. Then, my first major problem. The Trim Tab Servo has a threaded rod that moves through it -- when I installed it, I centered it in the space allocated for the trim tab. Unfortunately, when I activated the trim tab servo, I was not able to see it and the aft threaded rod impacted and punctured the spar. After consultation with Ted Waltman, I decided to smooth the puncture with a bucking bar and hammer, and then drilled the hole to a 1/4" round hole with smooth edges, to remove the risk of stress cracks. The hole you see on the left of the spar in photo 3 is the hole for the trim tab wire to pass through. There is now a rubber grommet in the hole and the wire passes through.
Later I worked on afixing the servo to the backing plate. The plans call for #8 machine screws but the servo is built for #6. I had some on hand, but had difficulty holding the phillips heads while using a box end to tighten the nuts. There is not sufficient clearance for a socket.
Problems -- ugh. Lesson -- really plan ahead and save time. The plans are not very good, so it becomes important to carefully think everything through prior to the actual work.
|
|
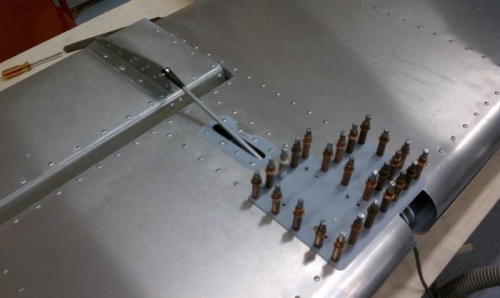
New Trim Horns Complete
|
|
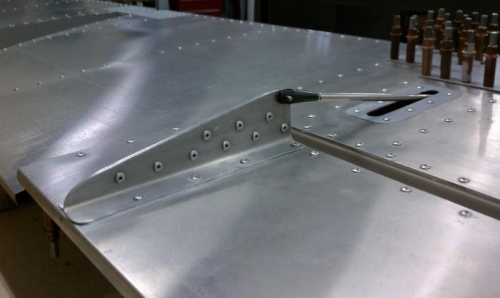
Close up of Trim Horn
|
|
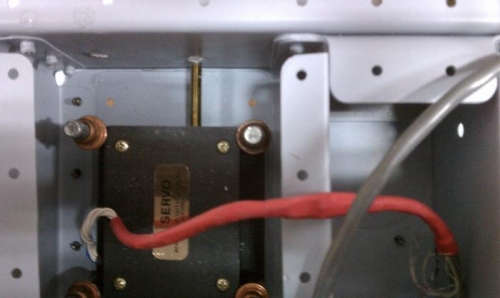
Mistake
|
|
|
|
|
|
|
|
|
Copyright © 2001-2024 Matronics. All Rights Reserved.
|