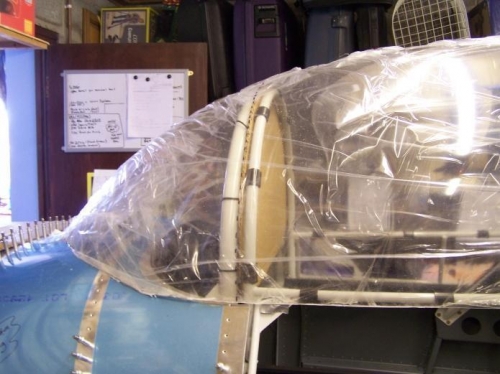
4) Place the cardboard template (manual 9-3) between the frame and the roll bar and push up until it touches the canopy. The plans have you cut in situ but due to the height of the canopy and the weight of the electric drill my inspector suggested the following and it worked a treat......
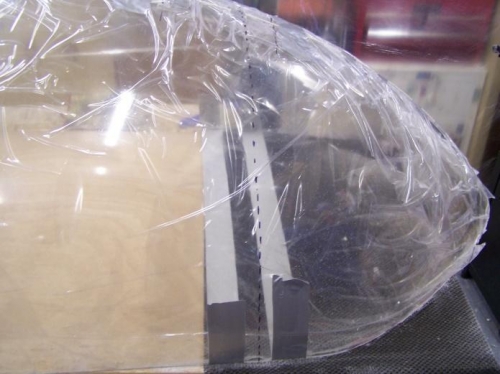
5) Mark the cardboard centreline on the canopy and remove the canopy to the table (engine box in my case!).
6) Tape the canopy either side of the template line to stop it springing open later.
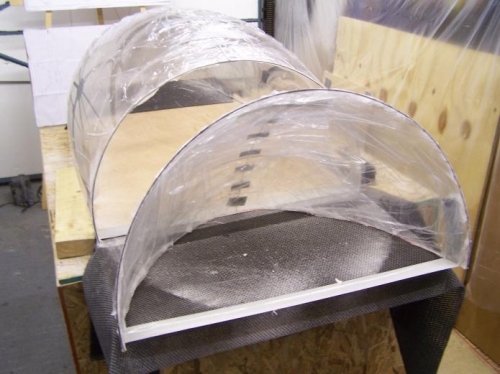
7) Imagine the bubble is the top face of a clock and cut from 9.30 to 11.30 and 12.30 to 2.30. With one supporting the two halves cut the remaining parts - sides then top. The BIG CUT off the airplane worked fine.
As per the plans - EVERY time you trim finish the edges.