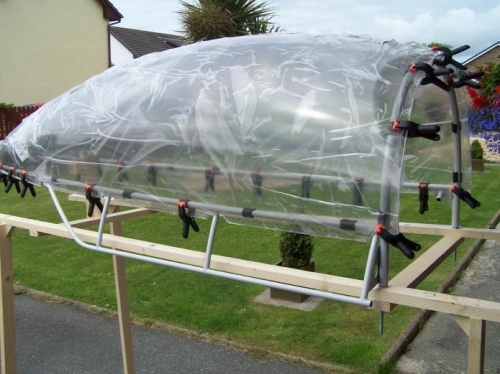
8) Placed the canopy on the frame/stand and marked the notches for the ribs and a first trim. Trimmed and finished the edges. Rotary tool with sanding drum worked a treat for smoothing the notches.
9) Repeat 8 until you are happy with the fit. The bottom does not have to be perfect as it will be hidden from view inside the cockpit and by the skirt on the outside. Suggest you mark lines on the canopy next to each rib for fore/aft alignment when bonding.
The windshield was edge finsihed set aside for later.
Post Note. Please make sure the edges are perfectly smooth - I must have left a stressor above my canopy handle tube as this happened
Cut and trimmed in one day - could not have done it without my Inspector, thanks Gary for that confidence boost. Now onto the bonding......