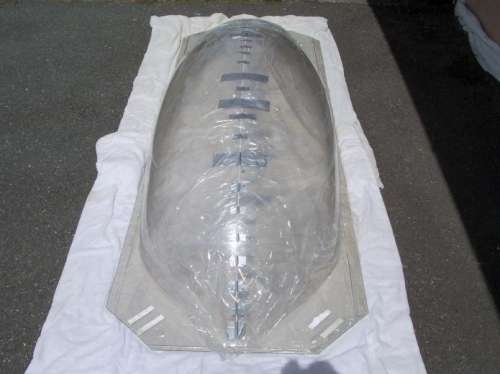
The section of the build that apparently puts fear into buillders the same as doing the fuel tanks! In reality it is like the fuel tanks - if you do your preparation and take your time it is a bit of an anti-climax, though it still doesn't stop the heart beating a bit quicker than normal, particulalrly when you seee the shipping costs of a replacement to the UK!
The main tips I gleaned that worked for me and is reinforced on several threads on the Vans Air Force Forum are:
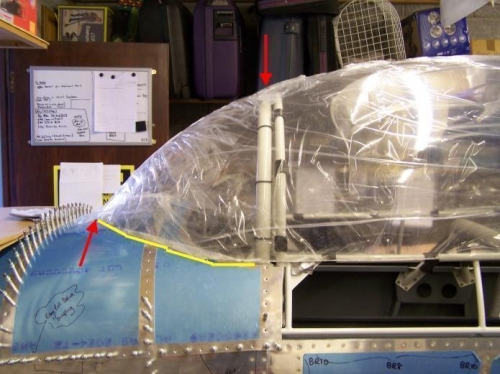
1) Mark a centreline on the canopy and frame/roll bar (this is particulalry important if you are bonding without ANY fasteners. I used a flexible cloth tape measure and marked a cntreline dot every 6". Joined them up with a peice of string and taped the string to the protective covering.
2) Remove the flange by cutting as close to the flange as possible. I used an electric drill (Makita HP1621 - 2800 RPM) with the Vans cutting disk and it cut really well. My compressor was not man enough for the air tools. Used a belt sander to smooth the edges - thanks Gary.
3) I placed 1/8" spacers on the canopy frame/roll bar as I will be bonding with Sikaflex. Place the front of the canopy on the DWG 44 reference point - 3 1/2" from rivet line and centred (front red arrorw). Centre the rear of the canopy with the centre track. Mark and trim the FORWARD section ONLY (yellow line) until the canopy touches or within an 1/8" of the roll bar (rear red arrow). Only trim the rear section if it touches the fuselage and prevents the front end from lowering . We found our trim cut pretty close to the reference red line already marked by Airplane Plastics.