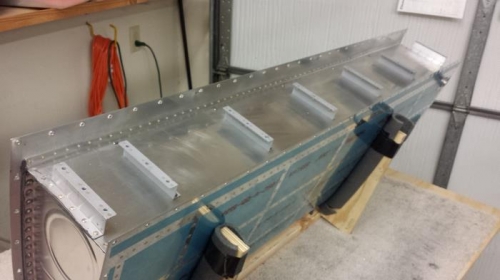
After the baffle was put on it was time to attach the Z brackets. First I took them off of the wing spar and carefully marked the orientation - of which way they went and transferred them to the tank. They attack to the tanks via pull rivets and connect the ribs, baffle and Z brackets together.
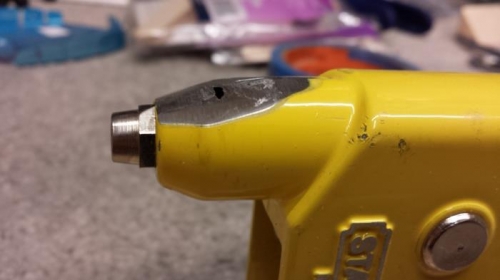
I cleaned the Z brackets with MEK after deburring the drilled holes, primed the faying surfaces and then set them aside to dry. Since the pull rivets are used for the interior z brackets the pull rivet gun needs to be "modified" so that it will fit...so I shaved it down on the grinder. I then set the rivets on the z brackets and drove the remaining rivets with the gun and bucking bar. There was one rivet that I am not happy with so I will redo that one. Other than that one, it's a good feeling to know that the last rivet has been driven on the tank. Now I just hope the tank does not leak. I am a little worried about the amount of sealant I applied to the outside rib/baffle joint. The one I can still access thru the access hole, but the other one could be a little more work if that area has a leak. Like I said, I hope it doesn't leak.