
|

|
|
|
Jims RV-8
|
Date: 7-4-2021
|
Number of Hours: 8.50
|
Manual Reference:
|
Brief Description: Labels in PowerPoint
|
|
After deciding to revise the labels and have them printed on white dry rub transfers for better visibility, I have been working to get the new labels made up in PowerPoint. Since this work session and the previous day’s session covered the same work, I combined them into one log entry for today. Over the past two days, I have been making up the new labels. Typical workflow is to grab a label from the word list, then make a copy of a finished label from PowerPoint and make the new label with the correct spacing and label names, etc. When I have a few new ones made, I print them off and take them to the metal panel for review. I used the switch/circuit breaker holes to line up the label on the panel. Shining a flashlight from the back of the panel illuminates thru the holes and makes lining up the label a snap, then I would tape it in place.
I have proof printed countless examples and tried them in place on the panel. I have changed the font twice, the font size and border size 3 times and have designed and redesigned most of the labels at least twice. As a side benefit, from multiple re-designs, I was able to get better spacing on the two alternator switches and circuit breakers on the right-side panel - it was much too cluttered before but is much better now. I think I have them all where and how I want them now - spacing and continuity are looking good.
|
|
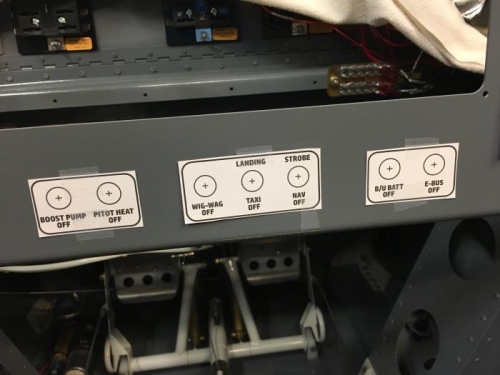
Center panel
|
|
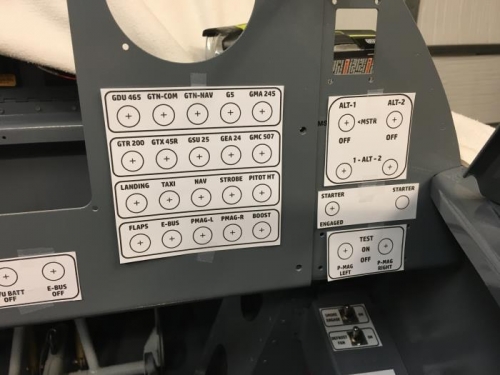
Right center panel / side panel
|
|
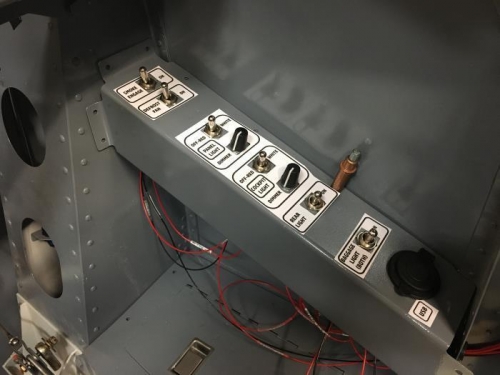
Right console panel
|
|
|
|
|
|
|
|
|
Copyright © 2001-2024 Matronics. All Rights Reserved.
|