
|

|
|
|
Jims RV-8
|
Date: 4-6-2024
|
Number of Hours: 7.50
|
Manual Reference: 12-3
|
Brief Description: Cowling #6 - More top cowl cutting
|
|
Over the last few days, I have undertaken many hours of research to try and understand the best process for the cut, shape, and hinging of the cowl to achieve a good fit. I have reached out to my normal brain trust, scanned the usual build logs, and read and re-read Van's "overview" instructions. Conceptually, it's just the order of steps that had me a little befuddled. As I now understand enough about the first steps to dive in, so that's what I did today. I first sanded the top cowl front end to get the spinner hole closer to 13", and then I clecoed on the top front skin and pulled the baggage door down from storage to secure it in place. Those parts secure the firewall and make up the boot cowl. I marked the boot cowl's centerline and the top cowl's centerline and then put the top cowl back in place.
I then marked the top skin/baggage door with a line 2" aft from the firewall, which will be used to mark the cut line on the top cowl. Carefully measuring back to the 2" line on the top cowl, I marked the cut line and then connected the dots for the continuous cut line. I used the cutting wheel on the Dremel to make the top cowl aft cut as it is more precise, although a little slower, and then took the top cowl back inside for the first test fit.
|
|
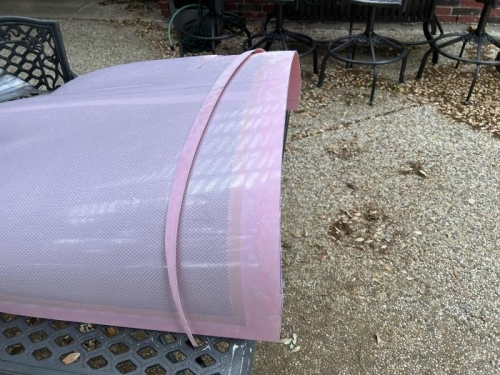
Baggage door secured
|
|
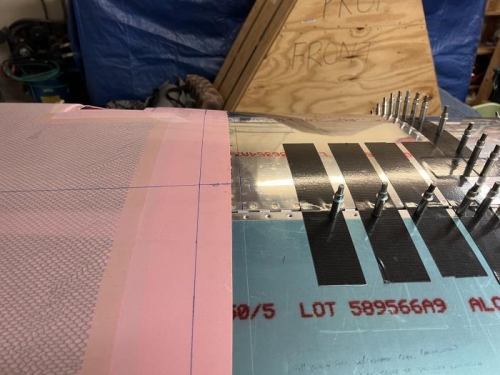
2" cut line marked
|
|
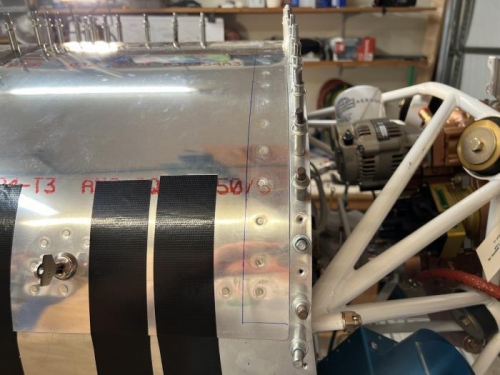
First aft edge cut on top cowl
|
|
|
|
|
|
|
|
|
Copyright © 2001-2024 Matronics. All Rights Reserved.
|