Brief Description: Baffles #1 - Gathering parts and starting
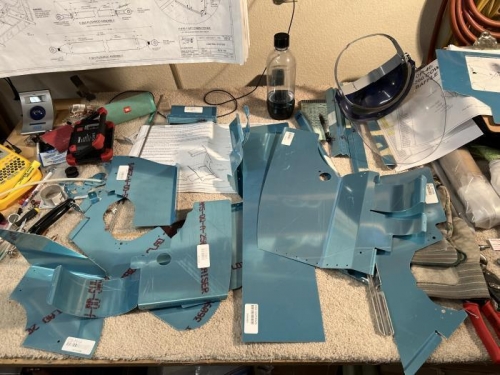
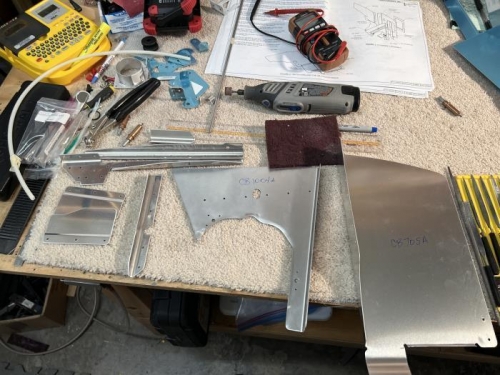
I needed a switch from the electrical so I grabbed the baffle kit box and started reviewing the directions and plans. I had already done an inventory but I wanted to make sure I at least had all the metal baffle parts so I made a copy of the inventory list and proceeded to mark them off as I identified and sorted them. There is also a large assortment of washers, rivets, etc., that I did not recount. With things in order, I will start by getting the baffles build up and in place as they can be pretty "fiddly" from what I have heard. I grabbed the large pieces of multi-parts and marked them, cut them and then de-blued and deburred them.
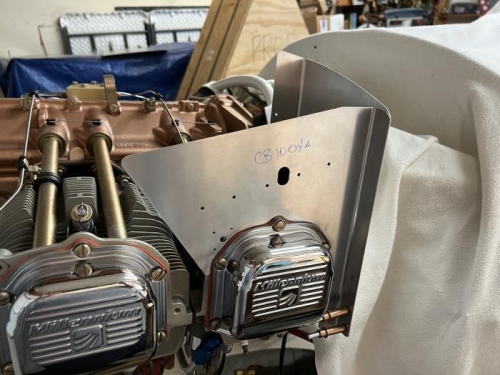
Following the instructions, I started working on the left rear cylinder #4. I grabbed the large pieces of multi-parts and marked them, cut them and then de-blued and deburred them. Hoping the first is the worst - as cylinder #4 took a LOT of work to get that first baffle piece to fit properly around the #4 valve cover. The silicone valve cover gasket squeezes out around the valve cover so there is not a clean margin around valve cover so it takes some shaping and slowly removing metal, so as not to take off too much. Another time where you sneak up on the proper fit. I riveted some of the doublers on after deburring a few of the baffle parts. It is good to be working with aluminum again, although these baffles are "fiddly!"