Brief Description: GTN-650Xi antenna securing and general work
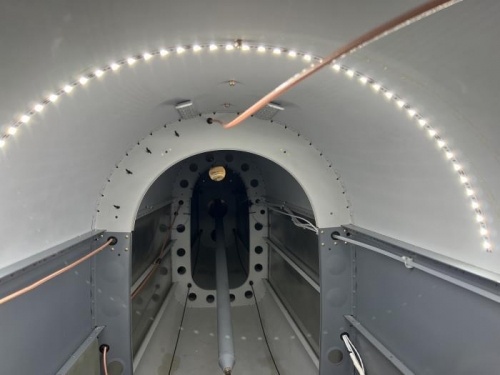
I climbed back into the baggage area to drill the holes for routing the antenna wire back behind the bulkhead and up to the top of the baggage area. I also inserted the snap bushing and pulled the antenna forward. The next step was to mix up some JB Weld and affix the cable holders. This part of the work session took a long time as I had to move pretty slowly back into the small confines of the fuselage.
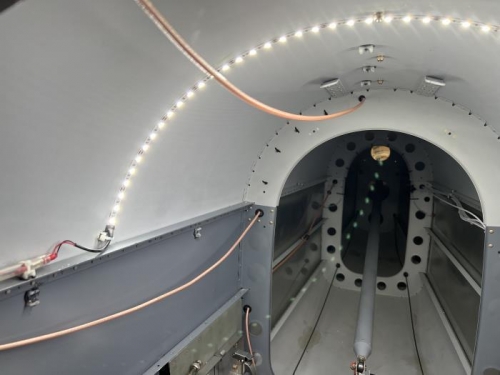
Next, I worked on the routing of the front baggage area lighting. I already had the power wire labeled and routed near the front area, but I had failed to provide the ground wire, so I accomplished that. I also drilled the hole and inserted the protective snap bushing where in the aft bulkhead of the baggage area. Those wires are where they need to be now for when the light is run diagonally from the lower left to the top right of the front baggage area.
I also did a general cleanup of the wires behind the panel and dressed them with more zip ties, removing the old ties and incorporating the new WAAS antenna. There were two places where I put some additional wire protection on the wires going through the left and right side panel side, and I noticed the worm clamp on the air vent needed to be re-oriented down so that I would be able to get to it after the top skin was permanently affixed. I had to disassemble the panel almost completely, but it must be addressed. It was a long day in the shop, but I made good progress.
Drill and routed, but before mounting points
After mounting points affixed (drying)
Front baggage lighting wires protected, and routed