Approach Fast Stack emailed me the wiring harness length worksheet to fill out and Bob was kind enough to spend almost an hour with me on the phone discussing tips and tricks. Bob has already been thru the process of determining the wire harness runs and lengths, so his opinions were invaluable.
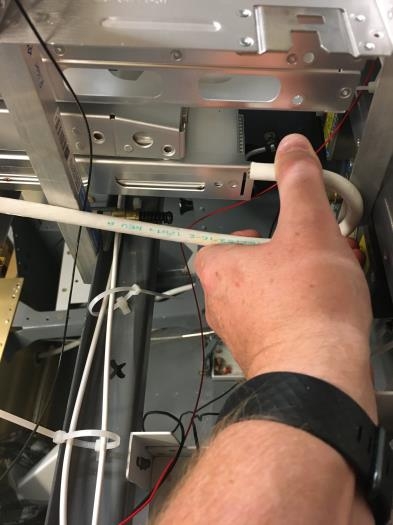
It sounds like an easy process - define where the boxes are going to be, and measure how long the wire/wires need to be to get to each box. Simple. The complexity arises from the thickness of the wire bundles and the fact that thick bundles of wires don't just bend in a zero radius turn like a small strand of wire or a clothesline does. So, I used the spare piece of #2 AWG wire because, as Steve once said, "#2 wire is a flexible as a 2"x4” (still a true saying, and it still cracks me up!)
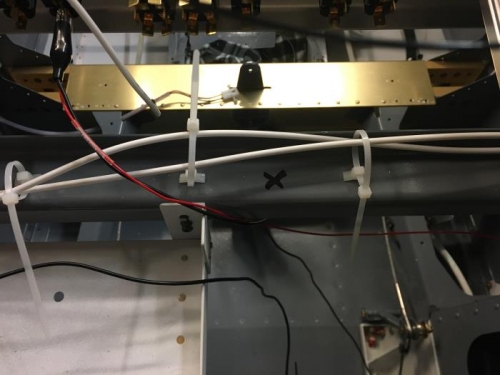
So, I marked one of the parallel cockpit span supports with a big "X" in the center. This would be the zero point that I will define the wire distances from. Using the #2 wire shows how inflexible the wire bundles can be and should give me a conservative amount of wire to work with. Just starting the process and trying to document the distances and bends needed. The nice part is, I can specify that the transponder harness needs an immediate downward bend at 90 degrees and AFS can build that into the harness. This will be a tedious process, but worthwhile.
"X" marks the spot - center of the fuse - zero point