
|

|
|
|
Jims RV-8
|
Date: 10-10-2021
|
Number of Hours: 0.00
|
Manual Reference:
|
Brief Description: Bus Wiring #2
|
|
Next, I went to the starter contactor at the firewall and ran the two Circuit breaker feeds. The first wire will feed CB rows 1+2 and it will run thru a one-way diode that will be installed near the battery bus. If I ever need to switch on the Extra bus, power will not be drained by other appliances that might be downstream, the diode allows the power to flow one way only. The second wire will energize CB rows 3+4. Both wires were run from the unswitched side of the starter contactor, so they will be hot once the master switch is turned on. As before, all these wires were connected at the starter contactor after a label was made, and heat shrink was installed.
The five wires that end up behind the panel are still in the “pigtail” stage as I still need to secure some of the wires and then I will connect them to their respective bus or diode. It took a long time to snake the wire and work out the best pathway, cut the wires, make the labels, and crimp the connectors so 6 hours for 5 wires may seem like a lot (it is) – but that part of the job is complete!
|
|
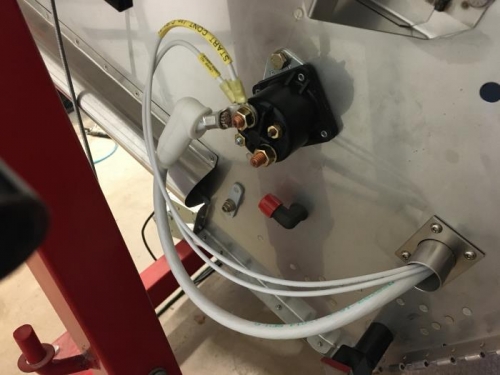
firewall, starter contactor
|
|
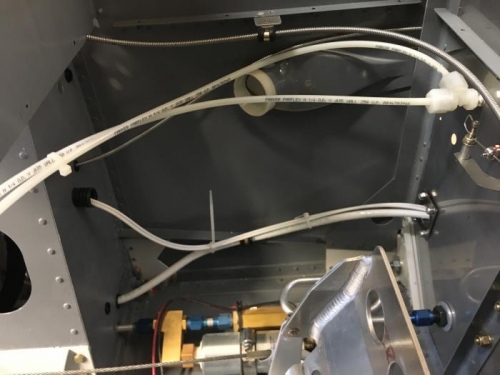
two wires running into the gear tower
|
|
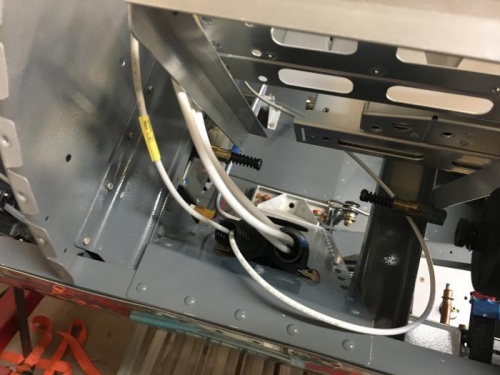
five wires exiting the gear tower - 2 from the front. 3 from the aft
|
|
|
|
|
|
|
|
|
Copyright © 2001-2024 Matronics. All Rights Reserved.
|