
|

|
|
|
Jims RV-8
|
Date: 5-21-2021
|
Number of Hours: 1.80
|
Manual Reference:
|
Brief Description: Applying Panel Labels
|
|
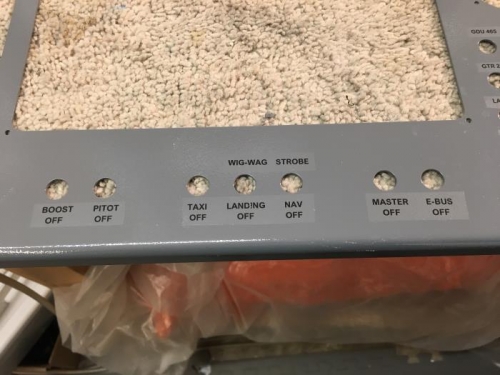
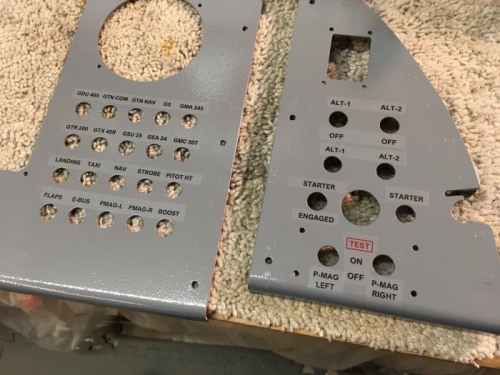
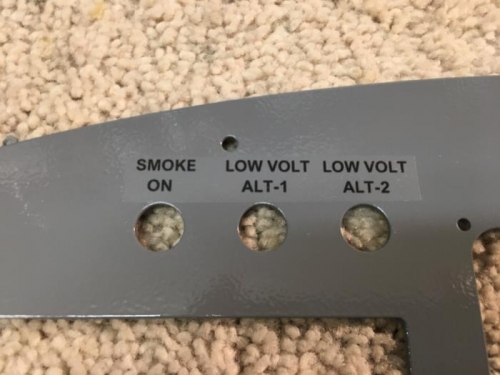
After getting all the spacing, font, and wording to my liking, it was on to printing out the labels. After printing the labels, they are covered in 3 thick coats of acrylic UV-resistant protection. Since the printing and protecting takes some drying time, I wanted to have two copies of everything so that if the first didn’t come out to my liking, then I already had a second label set ready to go. I took my time and applied each label set starting with the circuit breaker labels. I figured I would start with the hardest first and if I liked the results there, then the rest would be easy to apply. I did end up using the second set of labels on two of the CB rows as I did not like the results on one row and I ripped the other one so I am happy I had the second set ready.
I worked thru the process of soaking, applying and the squeegeeing the water out on each label set – measuring and lining up with the clear ruler. It was tedious, but not difficult. After all the labels were applied on the 3 front panels, and as the labels were setting – I started to re-think my master switch location. Odd how things happen, all along I was ok with the original location, but as soon as I had finalized the location – my mind grew uncomfortable with it being there.
I determined that in that location, it should be covered or protected better or just not have my Master contactor switch in the “busy” area of the panel. It would be better if it were tucked up and out of the way where it would not likely be accidently switched off in flight. So… as the labels were drying, I am already planning on changes. Greg warned me this would happen, but I didn’t think it would be so soon.
|
|
|
|
|
|
|
|
|
|
|
|
|
|
|
Copyright © 2001-2024 Matronics. All Rights Reserved.
|