
|

|
|
|
Jims RV-8
|
Date: 8-9-2020
|
Number of Hours: 3.00
|
Manual Reference: 7-12
|
Brief Description: Wing Tip #2 - Drilling the P4 hinge
|
|
The piano hinge method does take more rivet holes than the standard Van's screw attach method, so the next order of business is to double the number of rivet holes in the wing and wingtip. This can be done easily with a rivet fan - but since I do not have one of those, I improvised by drawing a line vertically thru the existing rivet holes, and then I made a mark for the new hole in between the existing holes. This was not as difficult as it sounds as the holes are just 4 different distances apart - so I only had to change the calipers 4 times.
With the new marks on the four surfaces of the wings (top left, bottom left, top right and bottom right), I used the punch to give me a starter indention at the intersection of the rivet line and the 1/2 way mark - then, I drilled the new holes. Using the newly purchased MS20257P4 hinge which is 1.5" wide vs. the 1.25" on the MS20257P3 hinge material, I drew the center line on the hinge and clamped the hinge to the wing where I could see the center line thru the center of the pre-drilled holes. The hinges get inter-mixed with the wider P4 hinge on the wing and the P3 hinge on the wingtip. The idea is that since the P4 hinge is wider, you shouldn't be able to see the eyelets between the wing/wingtip gap. Of course, I believe that the gap shouldn’t be large enough that you see anything – but we shall see.
|
|
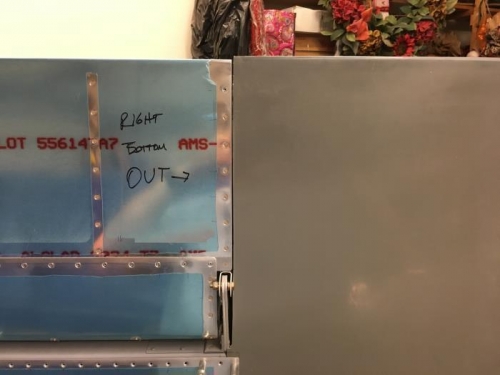
Another shot of the right wingtip fit before gap is cut
|
|
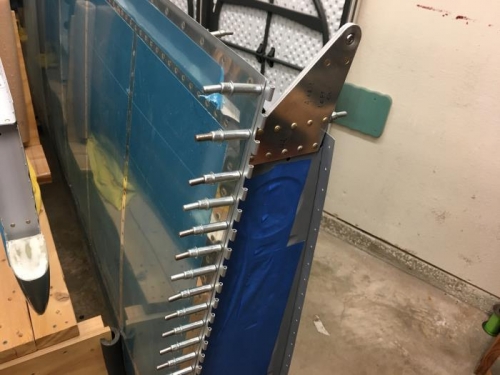
left top hinge drilled to wing
|
|
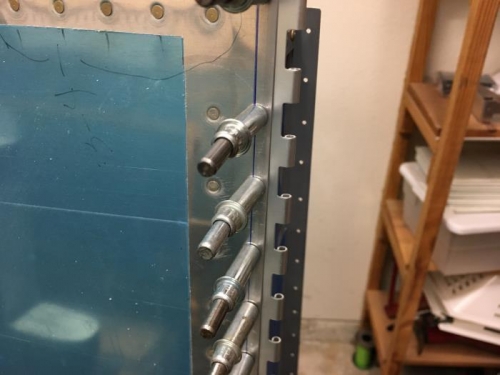
closeup showing the blue vertical center line
|
|
|
|
|
|
|
|
|
Copyright © 2001-2024 Matronics. All Rights Reserved.
|