"Let the cutting begin!" REMINDER - follow Van's instructions - these words are strictly my opinion.
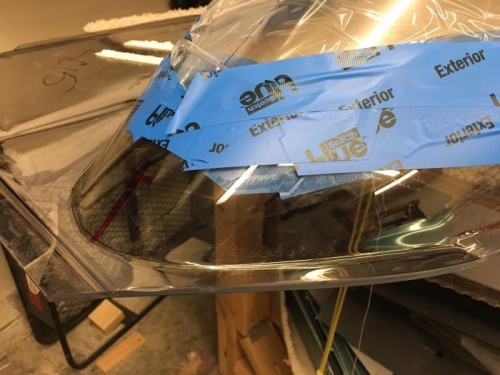
The shop was a "nice" 86 degrees so I started cutting the right side of the canopy at the rear moving forward. In order to get to the vertical part of the canopy to make cuts, I needed to trim back the excess (horizontal) portion at the bottom of the canopy - which also allows me some plexi cutting practice. I was peeling back the protective wrap thta was on the interior and exterior of the canopy - I was just pulling it back as I was cutting. But what I quickly realized was that the "plexi-dust" was getting caught up in the adhesive of the protective wrap - which would have been a scratch hazard what the wrap was laid back down...so... I decided to stop the cutting and peel back the protective wrap and cut it away and then seal it with tape. I am doing this in hopes that the plexi-dust will not find its way under the protective wrap and scratch the plexi. I had latex gloves on and used a clean rag to smooth the wrap and tape as the gloves were sticking to the tape.
Back to trimming and sanding...After cutting - I start with a 100 grit sandpaper, then smooth the canopy with a 220 grit and finish with the scotchbrite wheel an scotchbrite pads. I might pick up some 320 grit tomorrow and use that too - but the cut edges are very smooth for now - which should greatly reduce the stress risers that could potentially cause cracks.
I will say that the compressor has a hard time keeping up with the cut-off wheel as it uses a lot of air to spin it at 20,000 RPM - I may need to go get an electric unit.
peeled up the protective covering - 1" lip still in tact for now
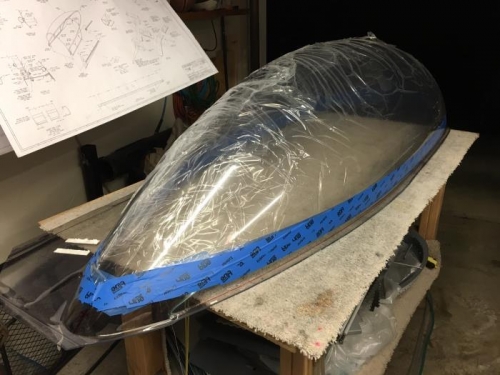
cut and sanded part of the excess plexi on the right side
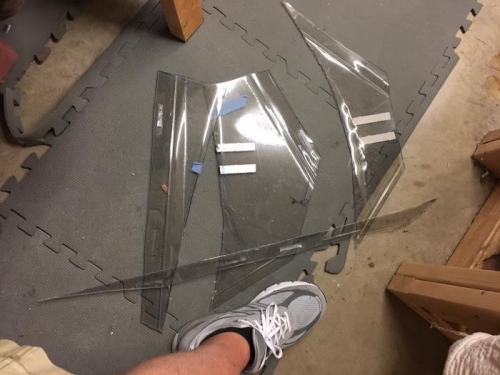
tonights plexi trimmings - with size 12.5 for scale