23-7 Step 1: Inserted the WD-1014C TT Collar through the 1 1/8 hole in spar web.
Step 2: Angled the TT through hole so as to be able to attach AFt TT sub Ass. Slide on far enough to allow ass. to be inserted into flanged bearins on wing structure. Then release AFT TT ass. ass sub ass. are inserted into bearings.
Step 3: Installed hardware onto For. & Aft TT ass.
Step 4:Checked for proper bolt alignment. Had to correct right side. Added either AN960 -416L or AN960-416 washers to take up any play in for/aft direction.Installed bolts and washers to ass. ends and torqued.
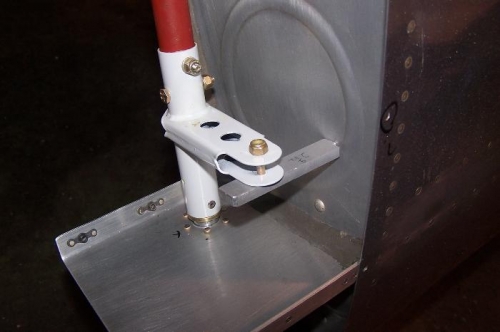
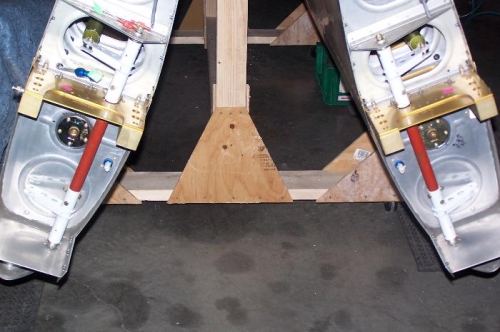
Step 5: Made my own jig to locate neutral position of Forward TT Subassembly. (See Pics)
Both L & R sides completed to this point.
23-8 Step 1: Inserted TT to BC Pushrod into wing and attached to W-421 Ail BC.
Step 2: Attached Pushrod to the AFT TT ass.
Step 3: Used a combination of the W-730 BC jig and jig I made for Neutral Position of TT Ass. to easily verify nuetral position of both the W-421 Ail BC and the Forward TT Ass. Had to adjust the W-1017 TT to BC pushrod ends slightly for correct engagement.
Step 4: Checked for free movement and correct torque on bolts. and jam nuts.