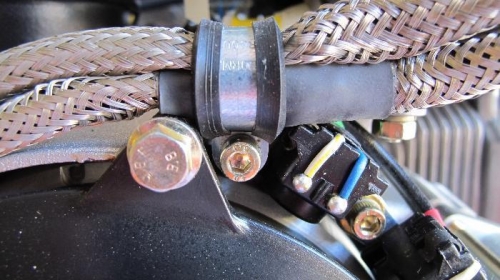
Picture 1 shows the two Adel clamps holding the harnesses. The plans call for the smaller cable to be discarded and a longer spacer to be installed, presumably to move the cables further to the rear of the engine.
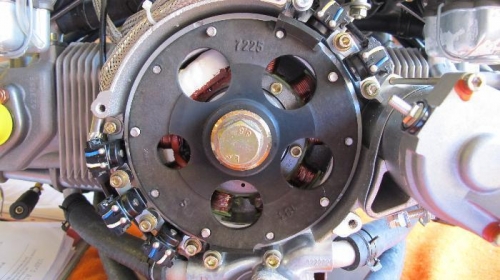
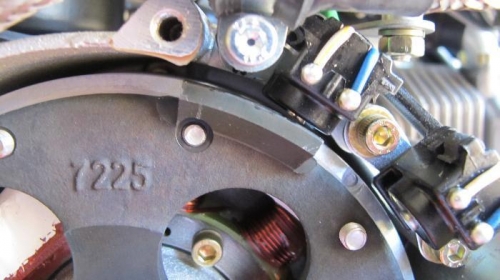
Picture 2 shows the Trigger Coil mechanism exposed. You need to take the plastic cover off the back of the engine to see this. There are five locations where the gap needed to be measured with a feeler gauge. Picture 3 shows one location where the grey plate is adjacent to the magnet.
I removed the top spark plugs with a long 5/8 inch socket to enable the engine to be turned over to rotate the grey plate. My gaps all seemed to be in spec, but I have to say it is easy to hold the gauge at other than 90 degrees to the surface and get a different reading.
Rotax say these are set at the factory, so I don't understand why we are expected to fiddle with them. It seems that, once the engine is installed, these are inaccessible.