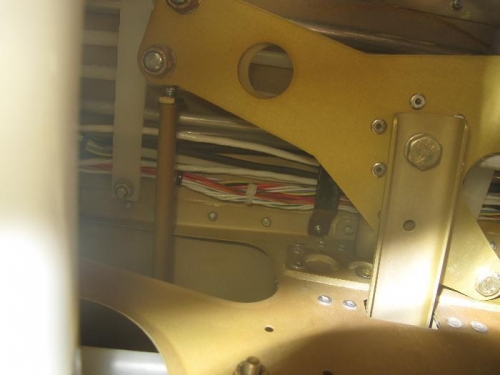
Picture 1 shows the little bracket I put over the cables. Tim wanted me to remove this, and cover it (with electrical tape) so that the bracket did not fray the wires.
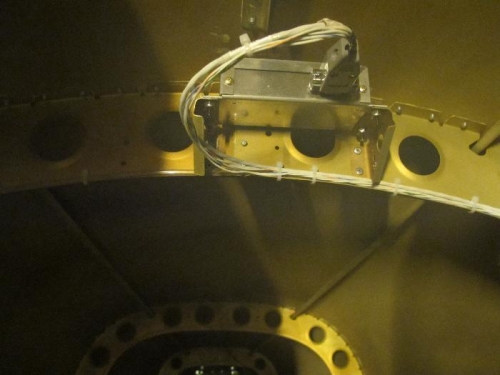
Picture 2 shows the magnetometer in place. I had to find, prep, prime, and attach the brackets in the tailcone. The unit is screwed on to the brackets, which are riveted to the frame as shown in Picture 1. I also had to replace the 9-pin D-sub plug with one fabricated from non-magnetic materials.
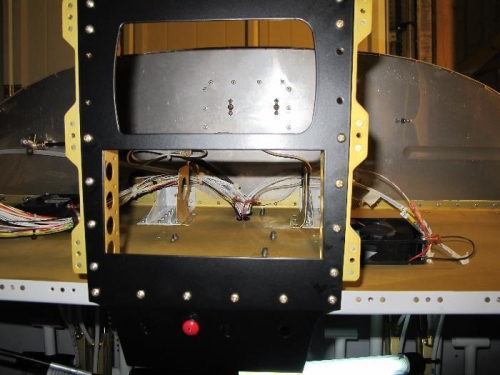
Picture 3 shows another backlogged task completed. I installed panel brackets, the centre panel, and the autopilot disconnect switch. See Picture 3. The wires are not long enough for the "European" market. I had to run them through the forward hole in the panel shelf, which is covered by the transponder. I am hoping that these small cables can slip undernearth the unit.