Brief Description: Finished tank, started stabilitor cables
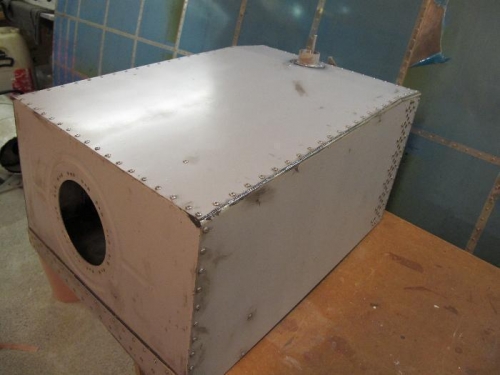
Another two lots of 5/50 grams of goop was enough to stick on the top and the access hole at the front of the tank. Part of the fun was figuring how to fix the fuel return line to the two brackets riveted to the top of the tank. Picture 1 shows the exterior.
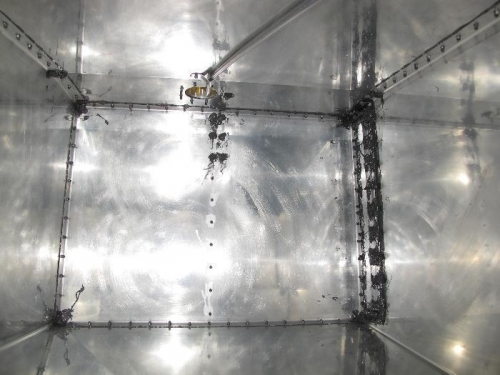
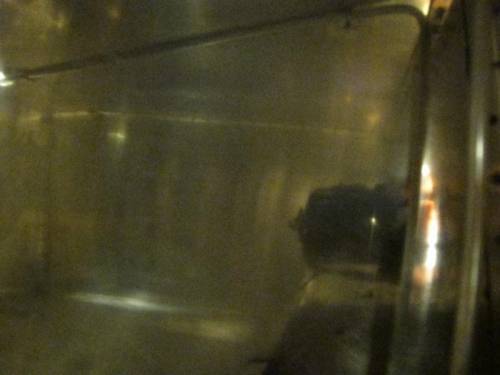
Pictures 2 and 3 (poor) show inside the tank, including the fuel return line. Obviously, I could not take interior pictures after I had gooped the access cover on the front. A week from now I will know if the tank leaks, which is expected given my confidence level. If so, I'll have to break the seals in the front or the top, clean up, and start again. Apparently this is called a "rite of passage".
The tank is now in the house, to accelerate the drying process. I just caught my granddaughter before she dropped a couple of teaspoons into the filler hole at the top. That would have been fun trying to extract those. Hope nothing else ended up inside when I wasn't watching :-(