Brief Description: Prime and fit autopilot brackets
I ordered and am installing the autopilot brackets, just in case I subsequently order the autopilot option ;-) In fact, I advised the LAA that I proposed to fit the brackets, and await their comments on the autopilot.
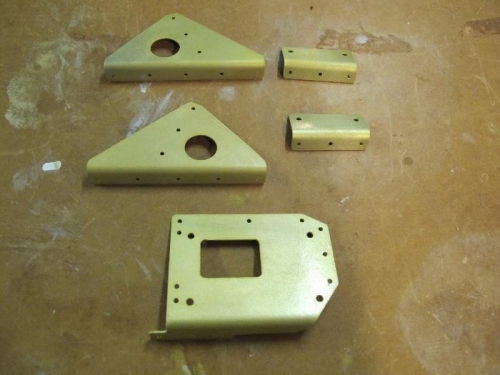
The bracket kit is just three parts that are split into five components, plus some rivets. The kit included a goodly handful of flush rivets, but only one is required!
Picture 1 shows the prepared components, primed and ready for fitting.
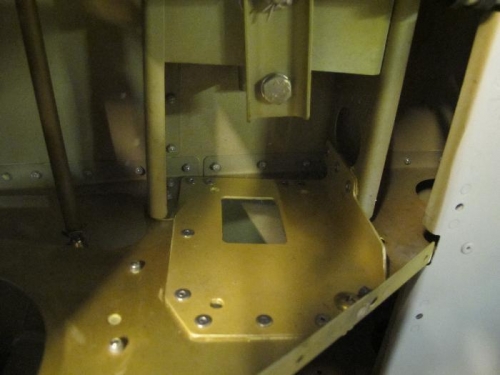
Picture 2 shows the doubler that goes on a seat rib. I had to remove some metal with a junior hacksaw blade. I wrapped some tape around one end of the blade to make a handle - no space to put a "proper" hacksaw in there. A dozen rivets hold the plate in. You also need to add a screw, that requires one leg of a nutplate to be rotated out of the way, temporarily. That's why you need just one replacement flush rivet.
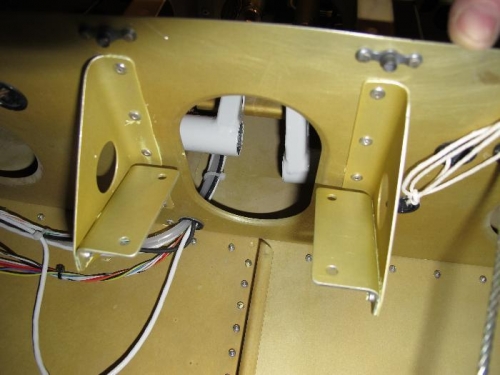
Picture 3 shows the two brackets that attach at the back of the baggage area. Another handful of rivets and the job is done.