I painted the inspection covers in white primer, then grey top coat as they are potentially visible although some will be obscured by the interior trim. Grey came out very thin and required multiple coats. Perhaps the paint is too thick, too cold. I certainly was.
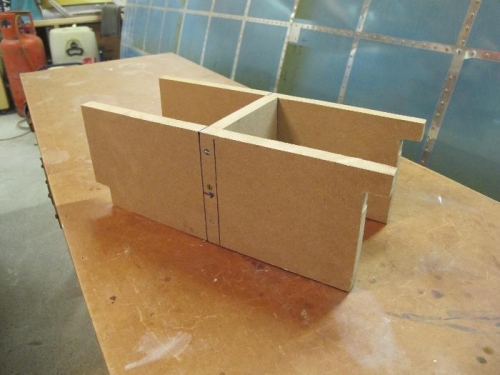
Picture 1 shows the rudder pedal rigging jig complete. As far as I can see the only critical dimension is the distance between the two corner cutouts - bottom left to top right. I probably spent more time than was necessary getting all the other dimensions as per the plan.
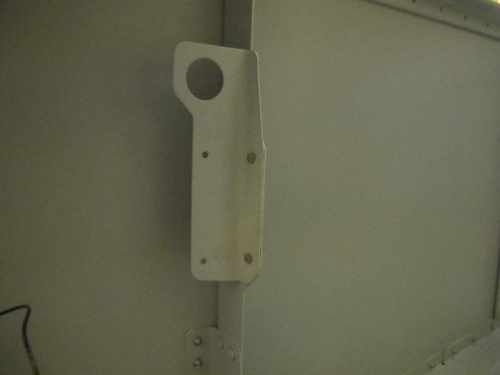
Picture 2 shows the ELT bracket riveted on. A bit difficult putting in solid rivets with nowhere to obtain leverage. This step had been delayed awaiting the next painting session, as I forgot earlier that this bracket would be visible (Section 31-15 Step 1).
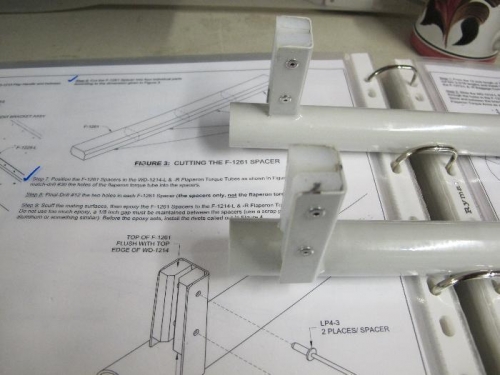
Picture 3 shows plastic inserts glued and riveted into the Flaperon Torque Tubes. The tab on the inside end of each flaperon slots between these plastic inserts. As I did not test the installation of the wings earlier in the build (due to snow!), I'm planning to install the flaperons on the wings, then do the trial fit. This kills two birds with one stone. The wings/flaperons must be installed on the plane to drill alignment holes in the Flaperon Torque Tubes. Not much longer before I can do this, if the missing replacement tube arrives soon.