Brief Description: Prep and paint all inspection covers
I cannot complete the flaperon controls until I get the replacement bit of tube, that seems to be taking an age to arrive. I want to do this with the fuselage still on its side. The next bit will be fitting the Flaperon Torque tubes. These extend out the sides of the aircraft, so at this point the fuselage will need to be turned and then remain the right way up. I'm keen to complete whatever I can with the fuselage on its side - it's so much easier.
That's a long way of saying I attended to some other tasks in the interim.
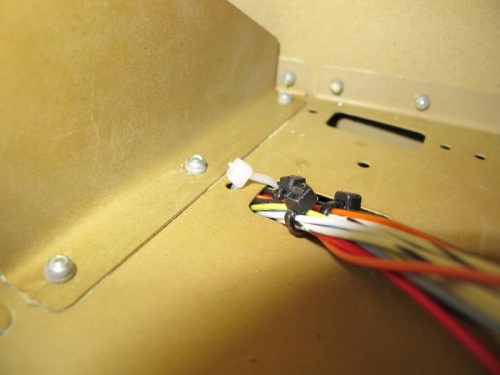
Picture 1 shows how I tie-wrapped the autpilot cables. It's not as per the plans, because I cannot figure out how to install a tie-wrap the way it is in the plans. However, I cannot see any problem with the way I have done it (Section 31-09 Step 8). Maybe I'll get a nasty surprise later...
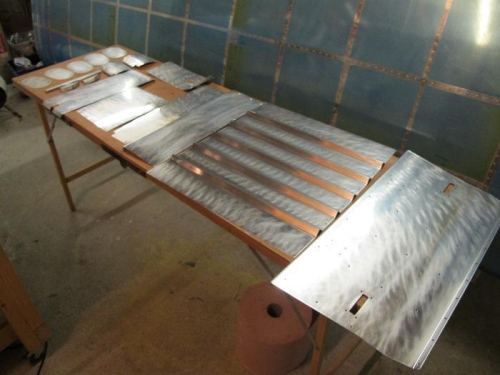
Most of the day was taken up preparing and priming the seven floor covers that go inside the aircraft together with a couple of small panels to cover the access to the rudder bar. I also did the final two panels that close up the bottom curve of the fuselage, and the five inspection covers underneath the fuselage. See Picture 2.
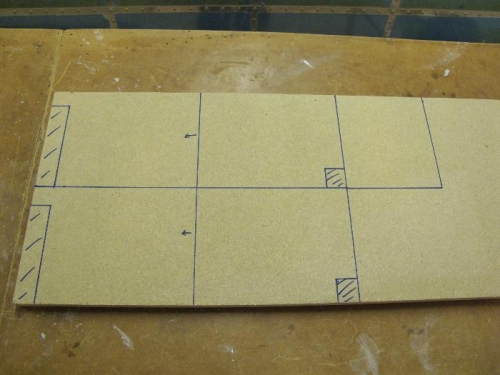
Finally Picture 3 shows a piece of MDF marked up with the three pieces required to make a jig for the rudder pedal rigging (Section 32-11 Step 8).