
|

|
|
|
Keiths Web Site
|
Date: 5-26-2010
|
Number of Hours: 3.00
|
Manual Reference: P 34-14
|
Brief Description: Yes more sanding
|
|
Another round of sanding, but at last I have switched to finer sandpaper. Picture 1 shows a shiny epoxy layer just about to be attacked. The profile is now OK, just a few tiny holes to be filled. I have ordered a tube of car filler, so that I can spot fill these.
Finally, I think I can remove the canopy from the plane so that I can continue to do other work in parallel with sanding stuff. First job, Picture 2, was to find the bolts holding it on. A paper template shows where the bolt is supposed to be, underneath the fibreglass. I used a #40 fibreglass drill bit and peppered the area with small holes, until I could see and finally remove the bolt. Picture 3 shows the hole opened up and filed smooth.
With some trepidation, I eased up the edges of the fibreglass around the foreward fuselage. I had been relying on the beeswax being a suitable release agent, and sure enough with a bit of patience I could move the canopy without damaging the fibreglass. Next job will be to trim the fairing to the final size. I'll need a replacement dremel for this. There's also some work to be done fairing in the edges where it attaches to the canopy skirts. This doesn't look easy, and I have already sanded the top of a few rivets in the area. Job for another day.
Currently I'm not putting in the hours necessary to make good progress. The 2010 airshow is looming and sucking up my time. I also spent several hours today organising my trip to Oshkosh. All booked, though I'll have to stay in Green Bay, some 45 miles away.
|
|
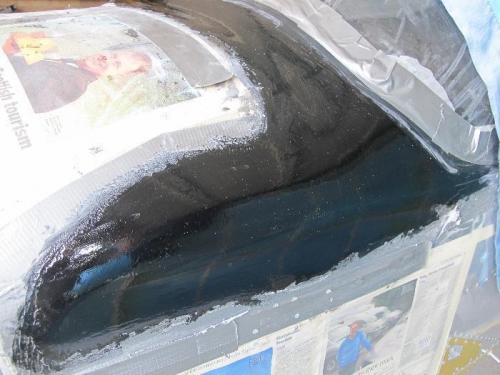
Finally the profile is looking ok
|
|
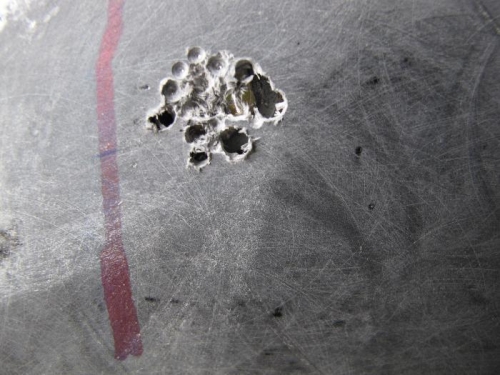
How to find a bolt
|
|
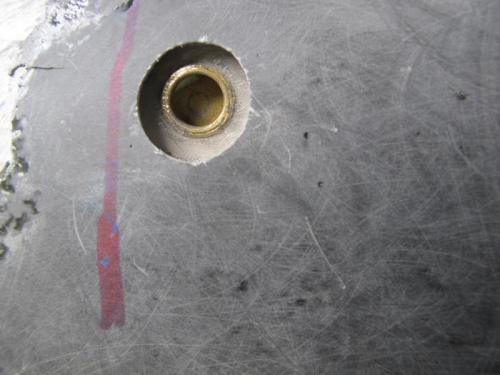
Found it!
|
|
|
|
|
|
|
|
|
Copyright © 2001-2024 Matronics. All Rights Reserved.
|