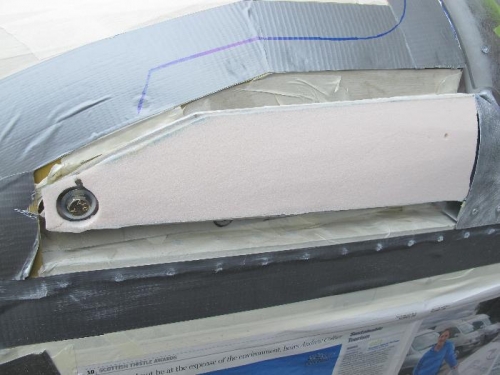
First job was to shape the foam blocks to the overall contour of the foreward fuselage. This involved removing most of the foam material. I started with a junior hacksaw blade to take biggish chunks off then finished with 80 grit sandpaper on a rubber block. There's very little material around the bolt hole. Picture 1.
I had read in another "blog" that you should remove the canopy springs before starting, although there's no mention in the plan. Of course I only remembered at this stage. I managed to damage the fragile foam around the bolt hole in the process, so had to spend some time fabricating add-in bits from scrap. I'll now have to wait another day while the epoxy on these bits cures.
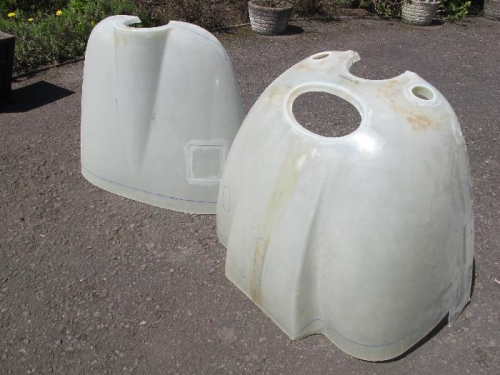
I then dug out the top and bottom canopy halves. There is quite a lot of trimming do to cut the fibreglass back to the marked scribe lines. And there are holes and slots to be cut. See Picture 2. First job was to highlight the scribe lines with a sharpie pen, then I used a cutoff disc in my Dremel to cut to within an 1/8 inch of the scribe lines. Next job was to sand the material down to within perhaps 1/32 inch of the scribe lines. I used a combination of a sanding block and a "D" shaped file. Took ages and covered me and the garage in fine dust. And I'm sure this won't be the end of it ;-) I'm planning to leave the final trimming of the cowling until the engine is fitted. It's easier to trim bits off the cowling than bits of the engine to get a good fit around the prop spinner!
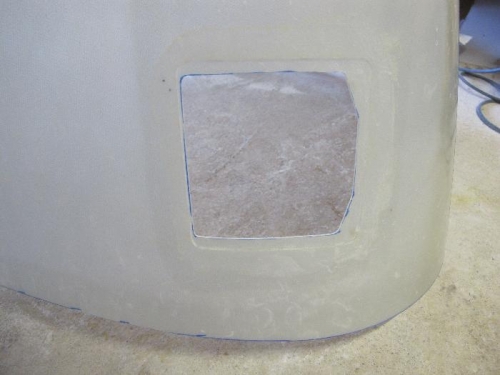
Picture 3 shows the oil door aperture in the top of the cowling.