
|

|
|
|
Keiths Web Site
|
Date: 3-18-2010
|
Number of Hours: 5.00
|
Manual Reference: Page 34-01, Step 9
|
Brief Description: More canopy work
|
|
I heated up the garage again to 70 degrees, and then set to enlarging all of the drilled holes to #27 for a loose fit around the retaining screws. I went at it with the air drill and light pressure. Back and sides were fine. When I got to the front, I recalled that these holes were only #40, so the enlargement was much more significant. I scanned the plans to see if I had omitted a step to open them up to #30 beforehand, but could see no errors or omissions. I had a go with the air drill and in short order abandoned this. It goes much too fast, grips the plastic and before you know it chips are starting to appear on the underside, in spite of a wood block as a backing plate. I retreated to the computer, and discovered the plans had been updated and I was working from an old set. The front holes should have been drilled as #30 (not #40) from the outset. Too late now, so I carefully proceeded with a cordless drill on a low speed - and still ended up with chips around another couple of holes. Hope these don't become the starting point for cracks... Subsequent countersinking with a "standard" countersink was OK, but material is rapidly removed, so you have to proceed will due care.
I moved on to match drilling though the Canopy Skirts (Picture 1) through canopy and into the attach brackets behind. The plans call for a helper inside the canopy, but I managed with a G-clamp. I also made a couple of exterior "handles" that are rivetted to the skirts (Picture 2), and finally made spacers for the Canopy Guide Plates (Picture 3). These turned out to still be too thin.
|
|
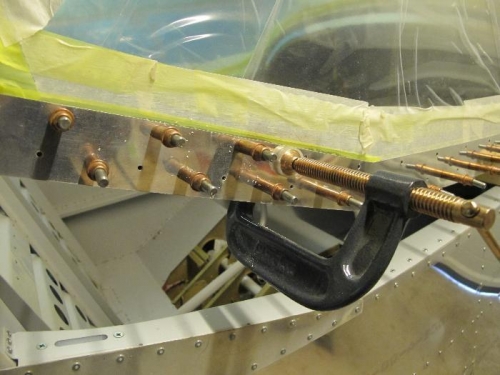
Drilling through Canopy Skirts
|
|
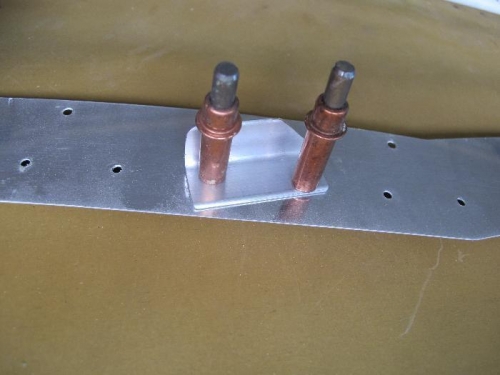
Canopy Handles
|
|
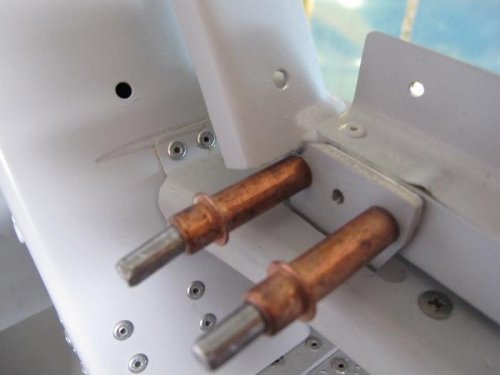
Canopy Guide Plates
|
|
|
|
|
|
|
|
|
Copyright © 2001-2024 Matronics. All Rights Reserved.
|