After prepping the Map Box I prepared the three instrument panel sections. The left and right panels are screwed in, the default being round-headed screws but with an option to countersink and use flat-headed screws (that would have to be ordered). The central panel is riveted in by default, although there is also an option to screw it in, again with extra hardware.
There are two support braces at the two joins that I have not yet installed while I debate the best way ahead. Current thinking is to stick with round headed screws (the default) for the outer panels. I don't like the hollow rivets used for the centre panel, so am leaning towards a screwed solution. Following others' example, I'll probably add 6 nutplates to the panel shelf and use stop nuts on the verticals. This means enlarging the holes and ordering the extra stuff. Although it means the central panel can be removed it will be fiddly. I'd probably have to unscrew the outer panels first to get at the nuts.
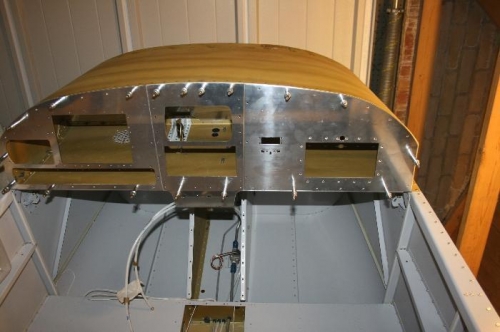
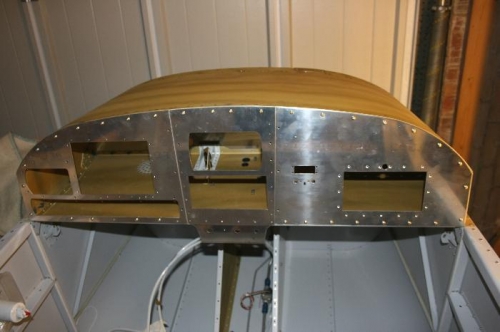
Picture 1 shows the panels clecoed on. And picture 2 shows the panels screwed on where nutplates exist.