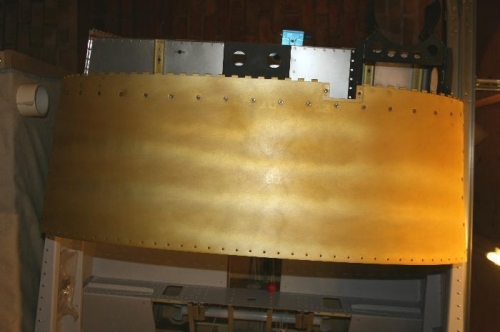
Here's where I trial fitted the upper forward fuselage skin with a bunch of countersunk screws. I screwed the leading edge to the firewall, then couldn't get the screws to line up with the nutplates on the canopy ribs. I removed some of the lower screws, did the canopy rib screws, then went back to the ones I had removed. It may be best to start with the canopy rib screws, then move to the firewall ones.
Picture 1 is an overhead shot of the skin (except it isn't really as the fuselage is on its side on the bench).
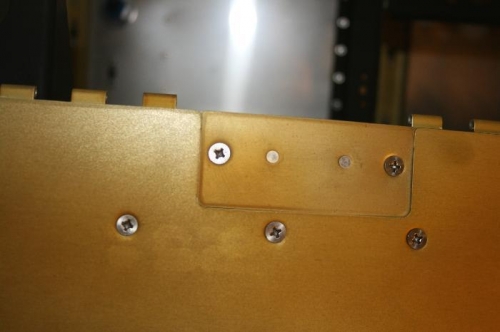
Picture 2 shows the little cover plate fitted to the front of the skin. Discovered eventually that this provides access to the hinge pins that hold the cowling to the main structure. I think the "handles" from the hinge pins probably go in the little bracket under this cover plate. *They do*
I spent most of the time doing prep work for the Map Box which is on the right hand side of the panel (and can be replaced with a second Dynon unit). I'll need to install backup instruments above the map box, which may preclude substitution of the second Dynon. The work on the hinge of the map box door must be done accurately to get it to open and close nicely - having said that the plans allow for some "fudging" if you don't get it right. I'll endeavour to post a picture later.