Brief Description: Assemble Forward Fuselage parts
Finally, back to assembling.
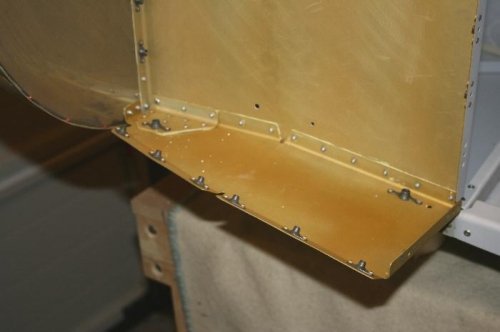
Picture 1 shows one of the Canopy Ribs riveted in place. Slow work with the fuselage on its side, and the rivets all having to be set with the manual puller - not enough space for the steam-driven puller. I put the machine heads on the underside of the panel shelf - maybe not so easy, but possibly prevents torn trousers and tights.
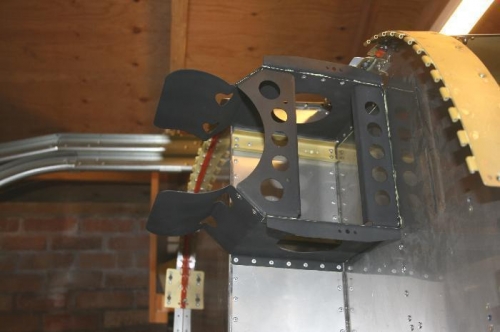
Picture 2 shows the Oil Tank supports and the Battery Box supports riveted to the firewall - again tilted through 90 degrees. All slow work with a manual rivet puller. This time machine heads on the engine side of the firewall, apart from one, where a bracket was in the way, so I went from the cockpit side. Sprayed in matt black high temperature paint.
Picture 3 - rooting through the manual I discovered that I had missed a bunch of rivets from Page 22-02 Steps 2 and 6. Fortunately, I could cleco these around the fuel lines, and pull the rivets around the gascolator, so no particular problem.