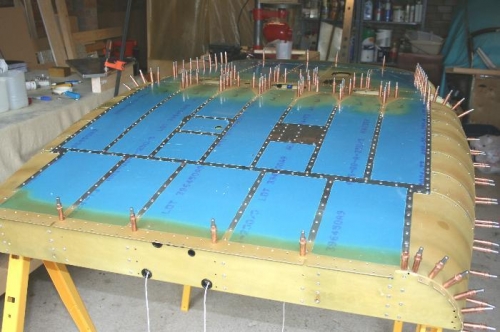
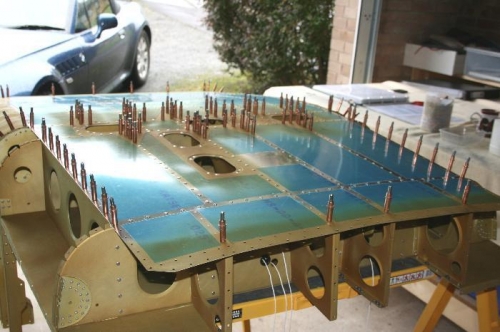
Good progress, once I finally got started this morning. Pictures 1 and 2 show the bottom skin riveted. There are a number of clecoes around the periphery where rivets do not go in yet. I have also left in place the rivets identifying the location where Doublers are still to be attached.
Note I had previously installed draw through strings for the various control runs. In fact no-one on the internet had indicated that this was desirable, so maybe the work is redundant. Anyway, easier to remove the string later than wish I had put it in beforehand.
I thought I would have a fight with the rivets attaching the bottom skin, and corner skins, to the underlying structure, but I clecoed every hole to get everything to line up as closely as possible, and the rivets went in with a bit of wiggling. The curvature radius of the corner skins is tight enough that the structure here feels really rigid.
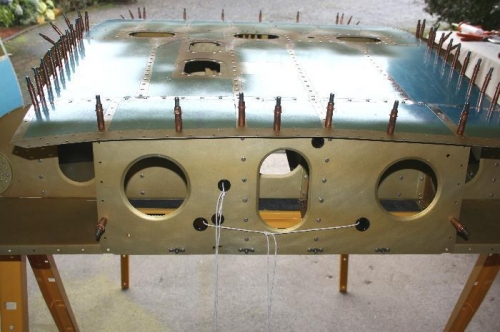
Picture 3 shows the clecoes in the centre section removed, though the Doublers are still not yet in place.