Following the inspection I was free to skin the flaperons. It took all day to do one flaperon, which seemed surprising. However, there are five skins, two behind the spar and three ahead of it. The flaperon itself is some 11 feet long, so there is lots of JC5A to apply and a goodly number of rivets to pull. Fortunately, virtually all of them can be done with the air gun.
Until the skins are applied the structure is quite flimsy, especially as the heavy counterbalance weight is just at one end. My workbench is now just 7.5 feet long so the flaperon hangs over one end. At times I needed to support the overhanging end on my mobile toolbench.
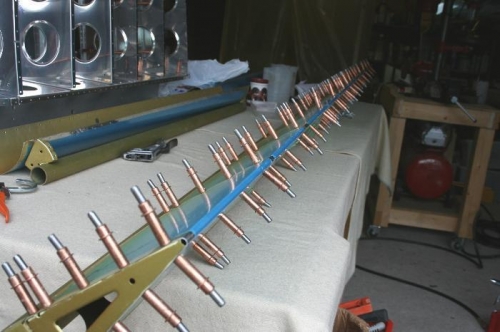
Picture 1 shows rear skins clecoed in place.
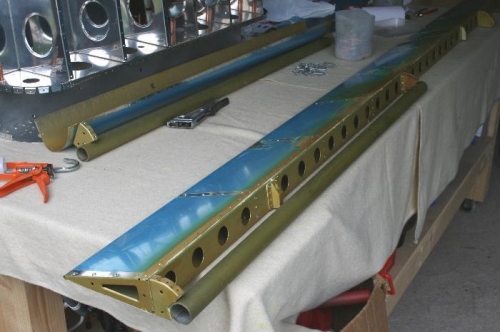
Picture 2 shows the rear skins rivetted on, and the counterweight ribs also rivetted to the spar.