This is the same work as yesterday, on the second flaperon.
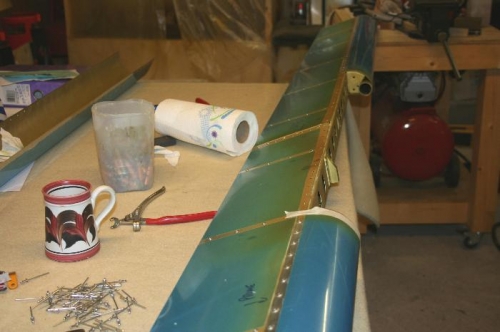
Picture 1 shows the rear skins and the outer and inner nose skins all riveted on. The middle nose skin overlaps outer and inner skins. Note my sticky tape to cover the holes not to be riveted until the middle skin is in place. Yesterday I forgot to do this, and I had already pulled one rivet before I realised it was premature. I had to drill it out. Fortunately, I could uncleco the skin and remove the bit left inside the structure.
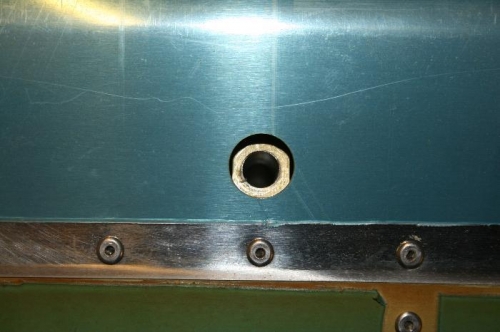
Picture 2 shows the tapped hole in the pivot bracket. It is laterally centred in the hole in the skin. These are where the rod end bearings are screwed in. These in turn fit into brackets attached to the rear spar of the wing. There seems to be no scope for adjusting fit in the brackets, so it is important that the pivot brackets are made correctly. Yesterday I saw that one of the two pivot brackets was not quite centred so I hope it is within tolerance when I come to assemble things.
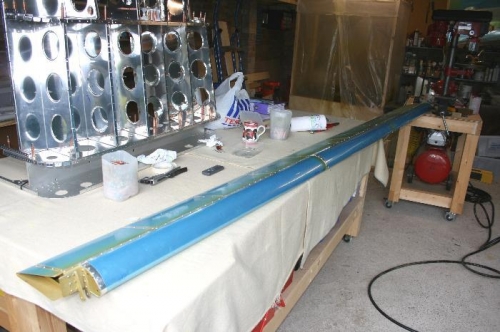
Picture 3 shows the completed assembly. Long, isn't it!