Flipping the wing was a five-minute job with two people. I took the wing outside to rotate it as there was only one inch of clearance between the workbench and the garage door support with the wing in a vertical position. Fortunately, the rain only started after we had finished the job.
The three bottom skins wrap over to form the leading edge. I didn't have any bother getting the clecoes in, and indeed most of the rivets were trouble-free also. For the ones that were hard to insert I initially tried twisting the rivet in the hole with a pair of pliers. This works but messes up the rivet head. A better solution I found later was to rotate the rivet at an angle, again with pliers.
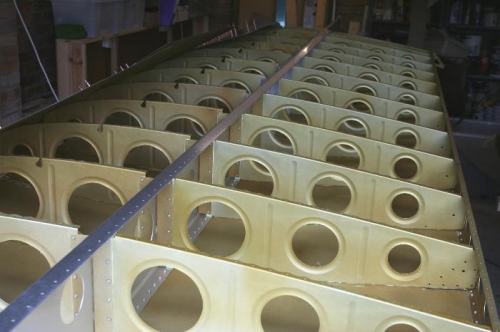
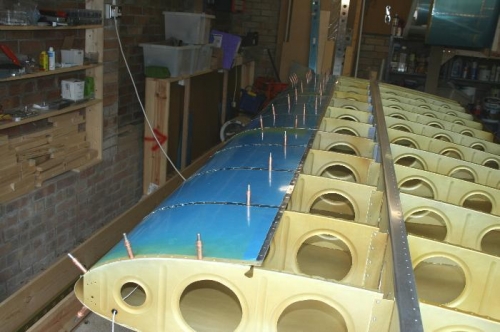
Picture one shows (only just) the work in progress on the inboard skin. Picture 2 shows the job complete. There are still clecoes in because there are end panels to fit outboard, and only the first few rivet holes have been filled on the other panels. These overlap the top skins, so need to be left unriveted until the top skins are in place. It's important to figure out which edges will have other skins attached later, so they are not riveted prematurely.