The hinge pins need some work to have a small "handle" made at the end. I thought it would be a heck of a job inserting the pins as interference from the "other" hinge means that the pins need to be bent as they are being pushed in. In fact, they went in rather easily.
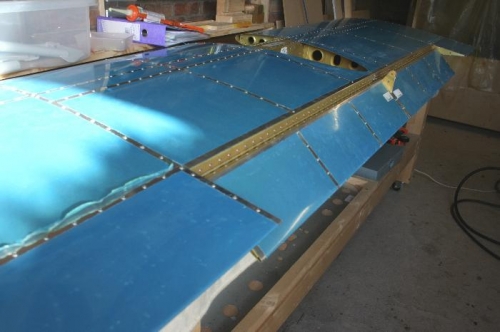
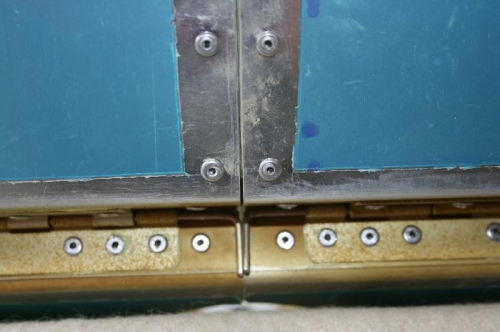
The pins secure the anti-servo tabs to the tailplane. Picture 1 shows the tabs fitted. The horns on the inboard ends of the two hinges are a tight fit - there's no slack at all (see Picture 2). There is maybe an 1/8 inch clearance at the outboard ends.
Picture 2 was shot from underneath the ASTs. You need to safety wire the pin "handles" through two small holes in the aft flanges (and the Skin Splice Plate behind them). I have not done this yet. It doesn't say so in the plans, but I believe you need to insert the pins from the bottom, otherwise there is insufficient space to rotate the "handles" to point down.
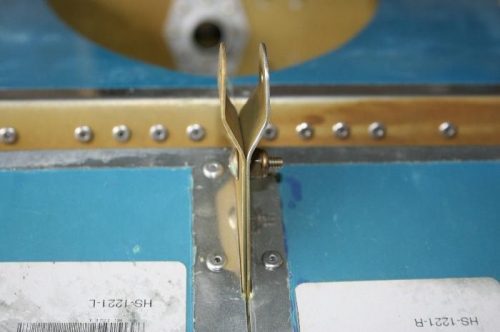
Picture 3 is a trial fit of the hardware that joins the two ASTs into one unit. This is actually part of Page 11-07 Step 10. Initially, the bolt wouldn't fit into the AST holes, because I think they need to be final drilled with a No. 12 drill. This doesn't appear to be anywhere in the plans.