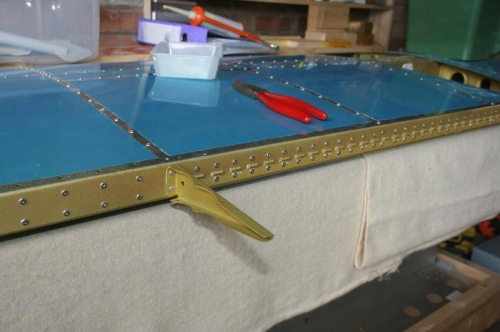
Here I needed to rivet two ribs per side (outboard) to accommdate the aft skins, then fit the skins themselves.
Picture 1 shows one of the ribs in place. Lack of rivet space meant that these rivets needed to be manually squeezed.
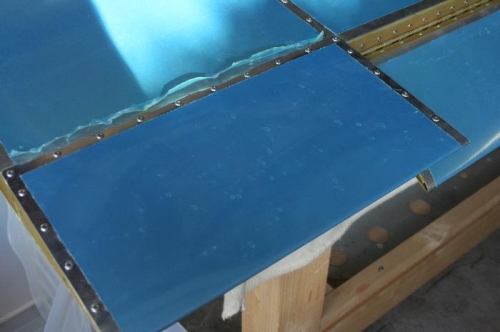
Picture 2 shows one of the skins in place. The plans call for the aft edge to be "pinched" to sharpen up the angle. After I had done this, the points where I had pinched the skin were visible. I would suggest placing the skin between two sheets of wood and pressing. I would expect this to do a better job. I'll just have to build another plane to see if that works better!
You can also see where I had to fold back the plastic sheet, as I had not cut enough away with the soldering iron. If I had not done this the sheet would have been trapped under the riveted edge.
Not visible in the picture, but I had also forgotten to prime the top surfaces of the tail skins where these aft skins are riveted on, so I had to get the primer out in the middle of the work.