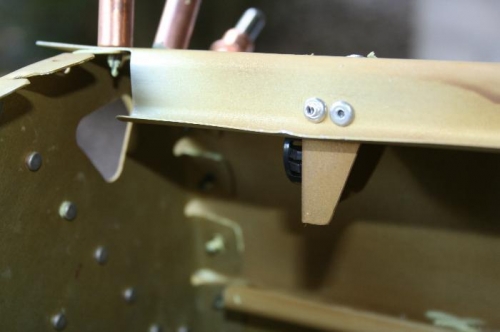
Picture 1 shows the mounting of one of the two Snap Bushing Brackets (the black item behind the rivets is the bushing). These support the rudder cable which passes through the bushings then through the holes in the bulkhead.
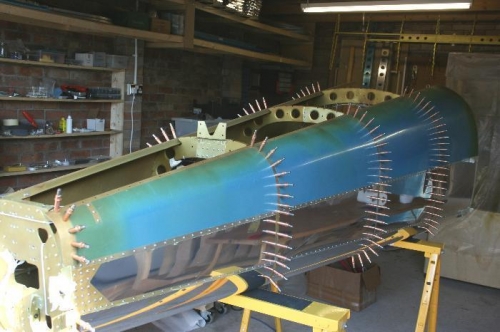
Once done, I could proceed with some serious riveting. First step was all of the horizontal rivet lines connecting the skins, as per picture 2.
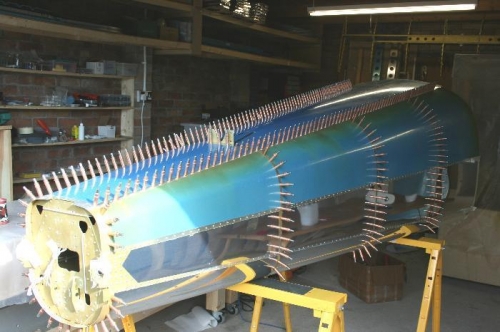
After that I trial fitted the top-skin. (Page 10-10 Step 6). It fitted without any adjustment. The right hand seam is not perfect as I over-bent the edge with the Avery edge-breaking tool. But it is so slight, I doubt it will be noticeable. Picture 3.
Once I was sure the top was OK, I riveted the skins to the tailcone bulkhead and frames.