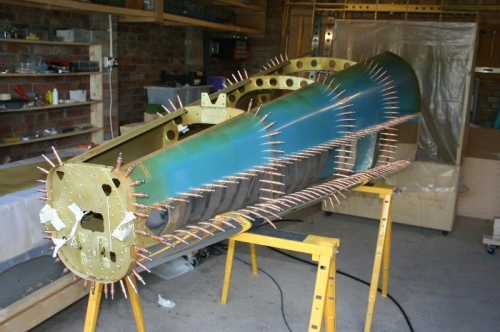
Brief Description: Cleco second upper tailcone skin
Same a left side.
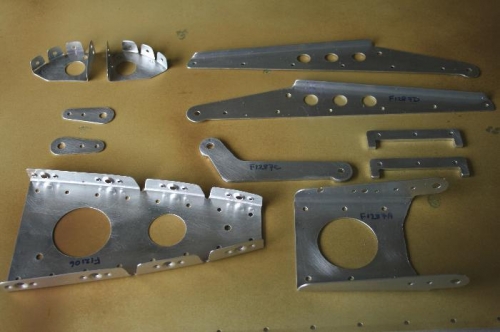
There's two small parts need to be primed and fitted before riveting the tailcone, so I took the opportunity to prepare a handful of other tail parts.
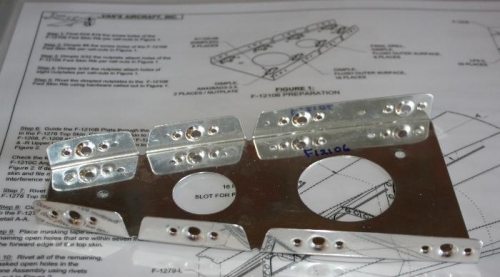
Picture 2 shows the Forward Skin Rib. This will be riveted to the top skin, and is used to anchor the front of the tail fin. The work entailed dimpling the flanges for the 8 nutplates that allow the tail to be screwed on (and thus is removeable). This is all covered in Page 10-10 Steps 1-5.
Picture 3 shows all of the parts I prepared for this batch of priming. The two parts, top left, are the ones that need to be attached before riveting the tailcone.