Brief Description: Riveting the bottom tailcone skins
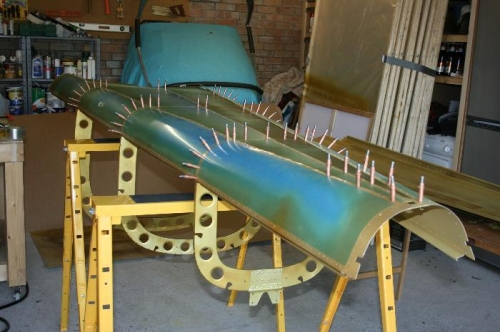
The lower left and right skins are attached to the frames in the same way, by sliding the skins through each frame in turn, then clecoing onto the frames.
In picture 1 I have added a couple more clecos to temporarily attach the skins to each other.
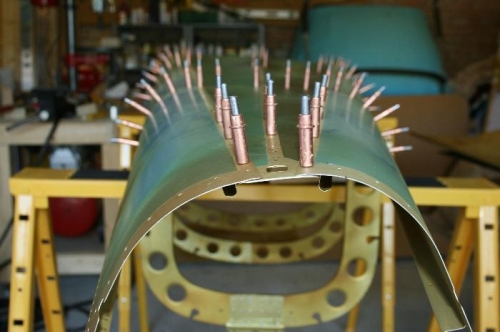
Picture 2 is the same, but shot from a different angle.
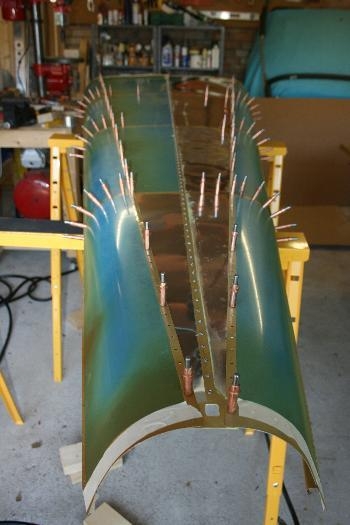
Picture 3 was taken after I had riveted the two bottom skins together along the centreline. What you cannot see is the glorious mess made by putting the sticky yellow sealant paste in between the join before riveting. It covers all of the clecos, the tools, and eventually your clothes.
I had not quite removed enough of the blue plastic film which meant that the overlapped joins would have trapped the plastic. The simplest solution seemed to be to remove the plastic entirely. It starts life as super shiny aluminium but rapidly gets smeared with yellow paste, fingerprints etc.
The previous effort to "break" the skin edges with the Avery tool seems to have been successful. The join looks good.